
|
FireLine Braided Beading Thread, 4lb Test and 0.005 Thick, Smoke Gray (50 Yards) SKU: XCR-1265 $13.99 |

|
TierraCast Pewter Toggle Clasps, Spiral 16mm, Antiqued Copper Plated (1 Set) SKU: FCL-7112 $2.99 |

|
TierraCast Brass Oxide Finish Lead-Free Pewter Charm Wreath With Bow 20.5mm (1 pcs) SKU: PND-5654 $2.49 |

|
Beadalon Beading Mats - Prevent Bead Rolling 12 x 9 Inch (Set of 3) SKU: XTL-9930 $3.99 |

|
The Beadsmith English Beading Needles Size 10 - 4 Needles SKU: XTL-3005 $4.20 |
Related Videos

How to Add a Decorative Beaded Edge to Bead Weaving
Learn how to add a simple and pretty decorative beaded edge to your bead weaving projects. In this video, the beaded edge has been added to the las...
View full details
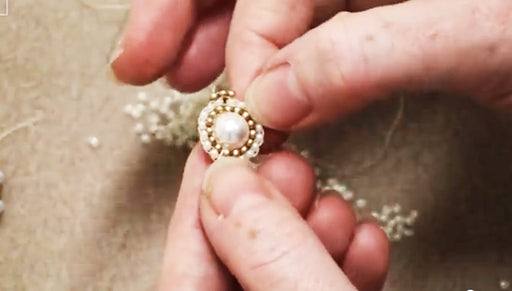
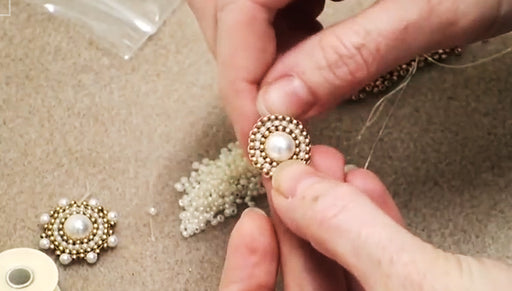
How to do Circular Brick Stitch Bead Weaving around a Bead
Learn how do the bead weaving technique circular brick stitch around a round bead. This creates a very uniform and pretty piece which can be used a...
View full details

Bead Weaving Variation on Loops using Briolettes
Learn how to add loops to your bead weaving using a variety of beads including briolettes. This is a simple step to learn and can add lots of varie...
View full detailsCustomer Reviews
Based on 1 review
Write a review