|
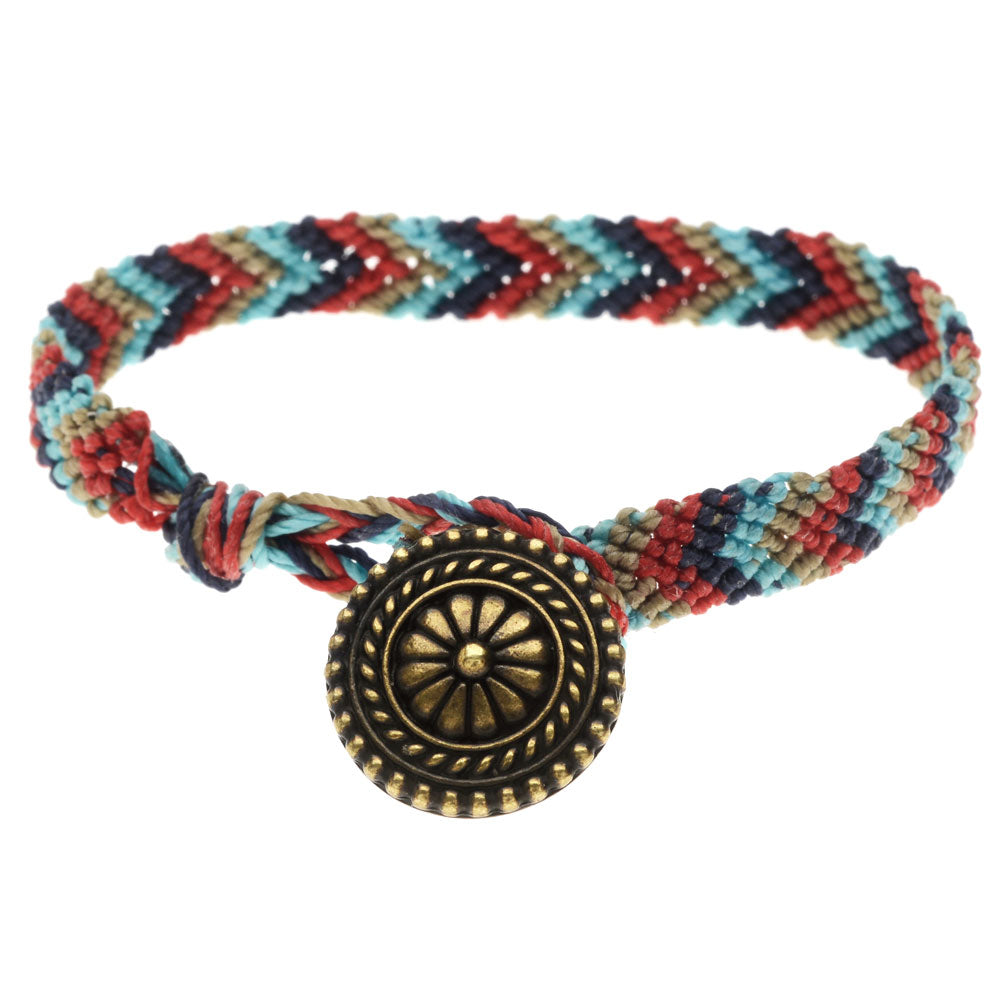
Daisy Belle Friendship Bracelet (Reboot) SKU: B8024 Project Tutorial |
|
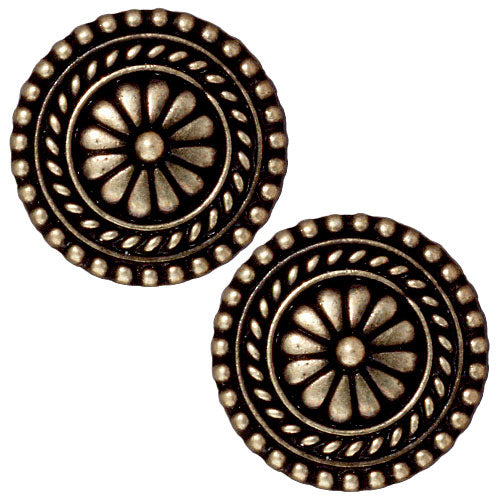
TierraCast Brass Oxide Finish Lead-Free Pewter Bali Style Button 18mm (2 Pieces) SKU: PND-5690 $4.69 |

|
Super-Lon, S-Lon, Cord - Size 18 Twisted Nylon - Shanghai Red / 77 Yard Spool SKU: XCR-4245 $4.94 |

|
Super-Lon, S-Lon, Cord - Size #18 Twisted Nylon - Sky Blue / 77 Yard Spool SKU: XCR-4327 $5.85 |
|
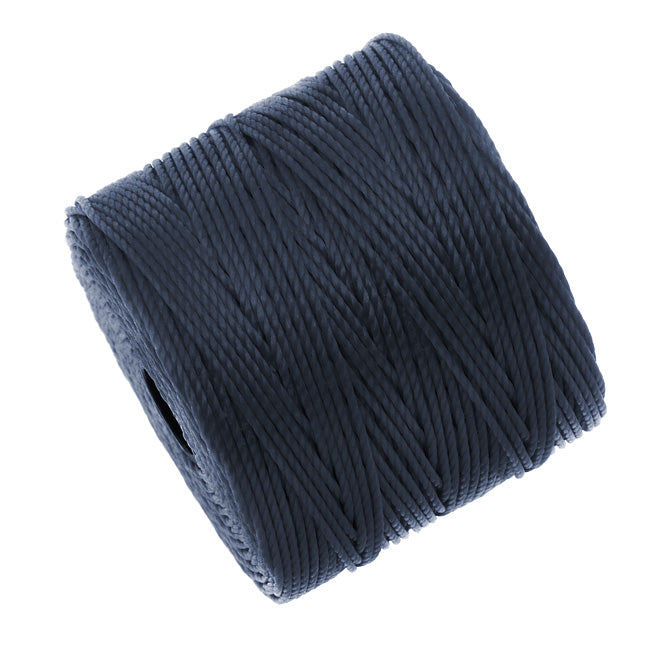
Super-Lon, S-Lon, Cord - Size #18 Twisted Nylon - Navy Blue (77 Yards) SKU: XCR-4624 $5.15 |
|
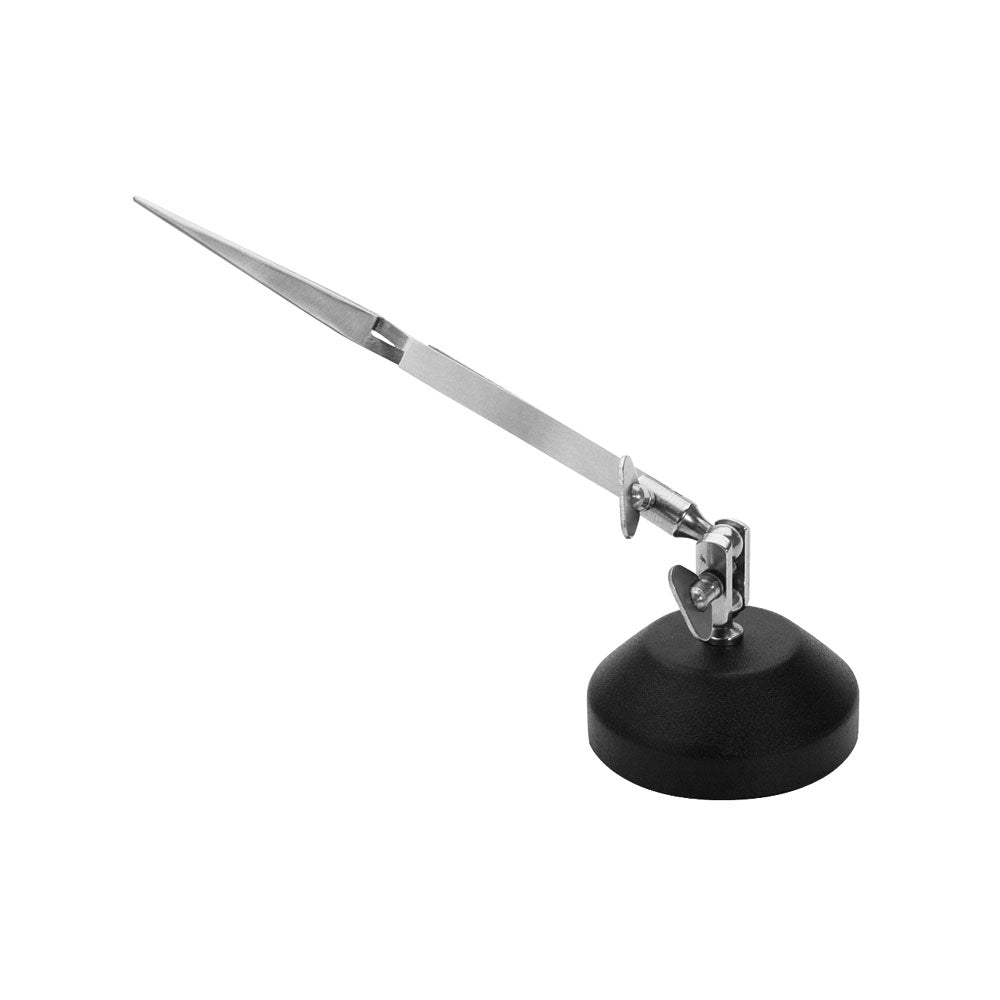
Single Third Hand With Pointed Tweezer Work Bench Tool - Great For Soldering SKU: XTL-0180 $18.49 |
|
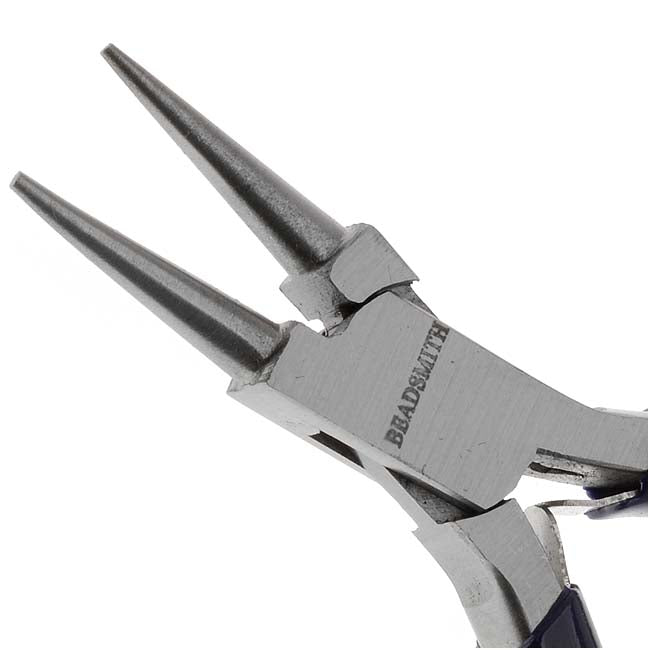
The Beadsmith Jewelry Fine Round Nose Micro Pliers SKU: XTL-5514 $6.49 |

|
The Beadsmith Jeweller's Micro Pliers Chain Nose Flat Nose SKU: XTL-5511 $6.49 |
|
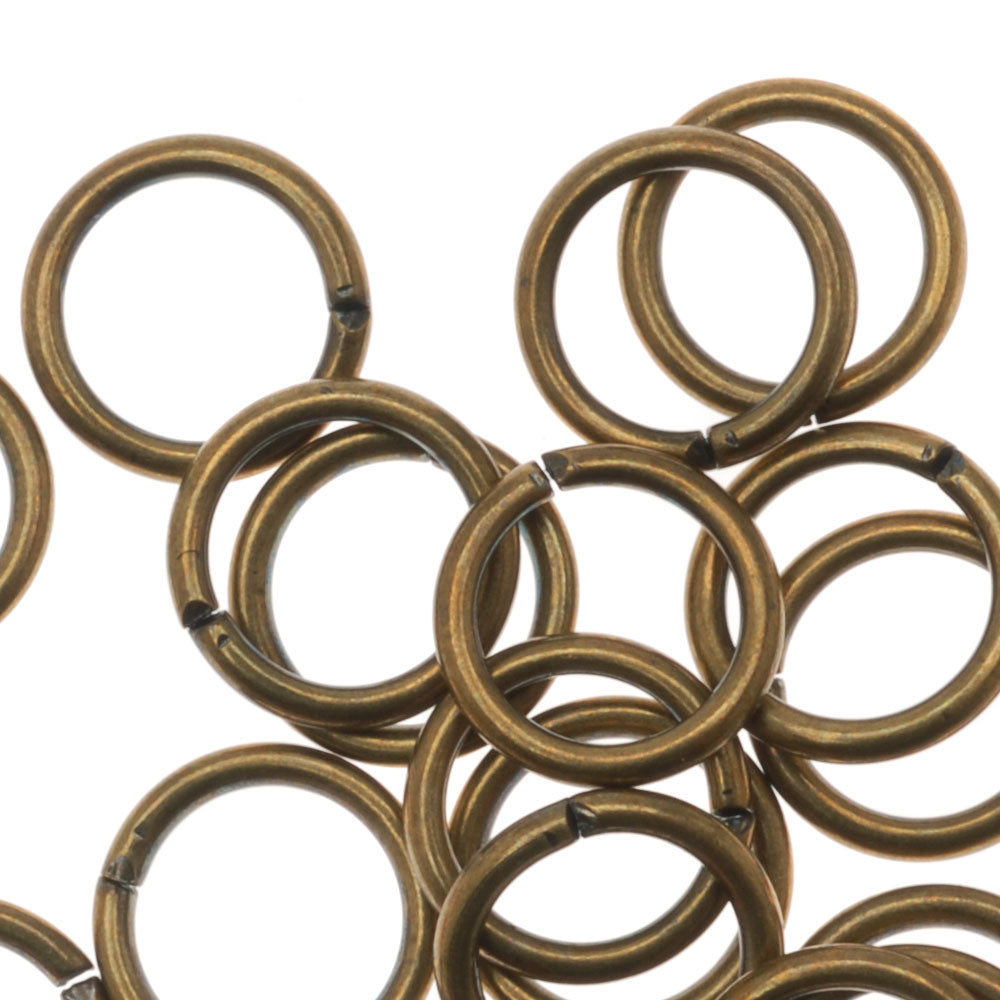
Antiqued Brass Open Jump Rings 7mm 19 Gauge (20 pcs) SKU: FJR-5175 $1.79 |

|
G S Hypo Cement Precise Applicator Essential! SKU: XTL-1001 $7.29 |
|
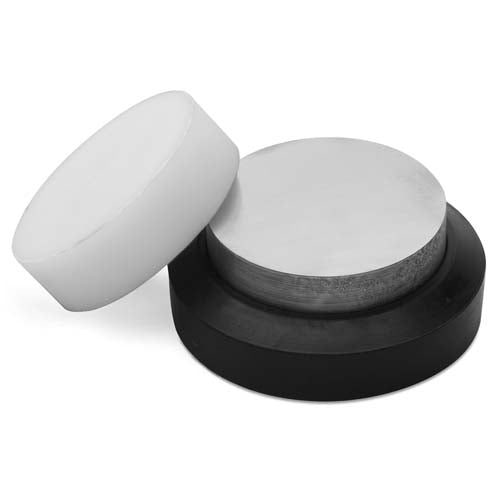
Eurotool Bench Block Helper - Rubber Base With Interchangeable Steel And Nylon Blocks SKU: XTL-0250 $33.39 |
Related Videos

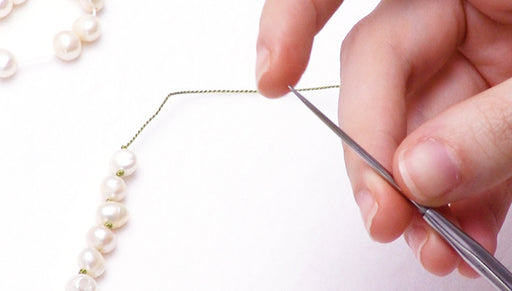
How to Undo Knots Using the Beadsmith Bead and Pearl Knotting Fine Point Steel Awl
This Beadsmith steel awl will help you gently remove knots from your cord when you're doing bead and pearl knotting. Learn how to use this fine-tip...
View full details