How to Make a Connector Focal Necklace with Gita Settings for Austrian Crystals
SKU VID-1549
Designer:
Kat Silvia
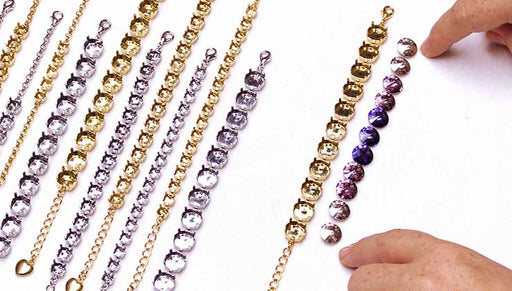
In this video you will learn how to set Austrian crystal Fancy Stones into a Gita Jewelry setting to make a focal necklace.
The brand name for the crystals shown in this video is no longer available. High quality Austrian crystals are now available under the PRESTIGE™ Crystal Components line.