


Related Videos

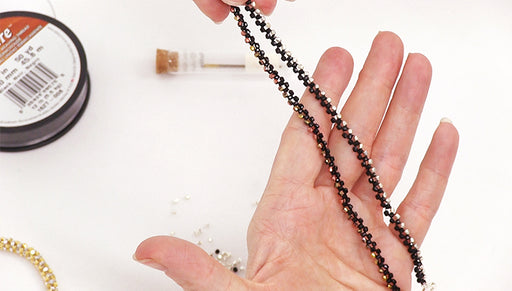
How to Right Angle Weave the La Siene Bracelet
Learn how to bead weave this pretty petite bracelet using Czech Fire Polish 2mm beads and a snap clasp. Quick and easy!
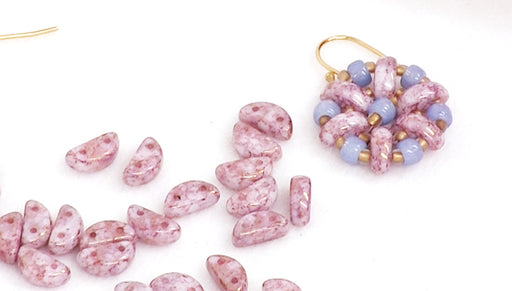
How to Bead Weave a Flower using Czech Glass 2-Hole Half Moon Beads
Learn how to bead weave a flower design using Czech Glass 2-Hole Moon Beads and 2 sizes of Toho seed beads.
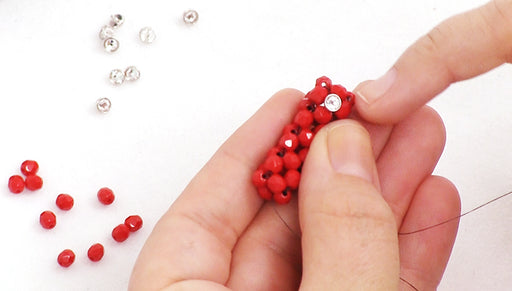
How to Add Crystaletts to Cubic Right Angle Weave
In this video you will learn how to add Crystaletts to your cubic right angle weave rope.