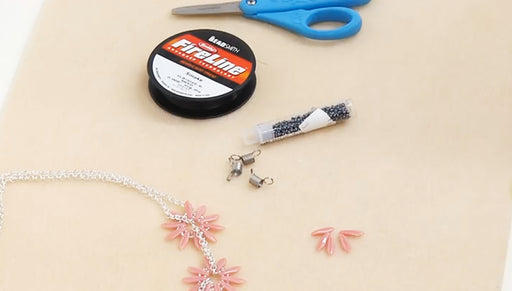
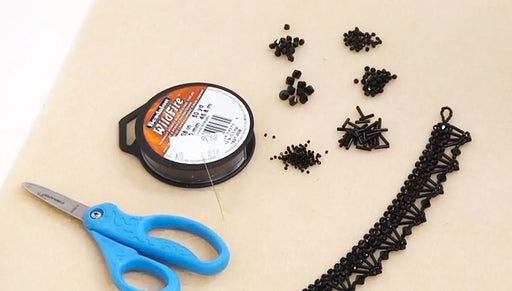
Audio Transcript
Note: This audio transcript is auto-generated and may not be completely accurate.
Hi this is Megan with Beadaholique.com today I'm going to show you how to weave the CzechMates™ two hole brick beads into a brick pattern which is good to know how to do since their brick beads and this makes them look like cute little bricks and this stitch is kinda a cross between a latter stitch and a peyote stitch and its actually also the same stitch that I used on this bracelet with the CzechMates™ Two-Hole triangle Beads. So if you're going to be weaving two hole beads together it's a really good way to just do a nice standard stitch to cover something with and both of these I've just used pieces to cover these really great Nunn Design channel bangles so I'm going to show you the basic technique and if you do know how to do a ladder stitch and peyote stitch it'll be very familiar. I'm using a darker thread here so that you can see my thread and I'm just going to do a small piece. Once you've get how it goes it'll be very easy to figure out the rest so I'm going to do a piece that's three beads wide you can do also with this one I did this is four beads wide so it can be even or odd and it still works the same because the two holes help you out with turning so I'm doing three beads wide. I'm going to go ahead and string three beads onto my thread, you going to you flip your beads around so that you have them alternating which side of your thread they're going to and if he had more you just keep alternating and you just want your top bead to be facing in the direction that you're going to work you can definitely use a bead stopper or use a stopper bead so then you're going to go back down through your top bead into that second hole and then you have this little space here you're going to pick up another brick bead and continue through the second hole in the next bead and if you have more than three you continue all the way down picking up a new brick bead in between the ones you already have and now we want to just like in ladder stitch you want to reinforce your stitches to make them lay nice and flat. Go right back up through your original holes all the way through the three beads that you have there and then in order to move forward we need to go back down through the other side again again you're just gonna go through following the thread path Now we're going to go ahead and move on and you just wanna fill in wherever you have an indent right now I need to pick up another brick bead then go through the one I have that's sticking out there and then I need to fill the space and pick up one more and to connect this to the last row going to go back down through make that a complete loop and then right back up through the thread path you'll do a lot of looping around but it makes it really even and sturdy. It's just like in ladder stitch when you have to loop all the way back around a lot of the time and then we're going to go on to the next stitch. So go down through the other hole in your brick we need to fill this spot. You're gonna pick up a new brick bead and then continue back through the next hole and at this point we're just repeating what we did in the last section so back up and back down through the other hole then were going to now add a brick at the beginning and a brick at the end. So pick up one go through that second hole pick up one and then you're going to go back over, go down and then back up through and it is possible to adjust your spacing if you pull these nice and tight you will get less of a gap between your bricks, if you want them a little bit looser you can show more between them. Depending on the tension that you use will determine whether or not you have any space between the brick beads I'll do a couple more and I do find it helps to keep your bricks facing the way that they're going to, in the direction that they're going to as soon as you string them it helps to keep track of where you are to bring them all the way down and put them facing the way they're going to go instead of flipped around and one way to know that you've looped all of them the right way is you shouldn't have any gaps in your thread bridges, you should have thread bridges between every pair of holes and between every pair of beads on both sides to know that you've reinforced it enough to make it really nice and sturdy and it also will help keep it straight and even. Keep it from curving off to one side one other thing I want to mention is that just like in peyote stitch this can be zipped together and that is what I did with it in here. I don't have a visible seem. I just zipped the ends together and as long as you do you end it so that they fit together instead of butting up. You want to end it so that where you have a bead that sticks out on one side you have an indentation on the other side and you just go through and don't forget to still loop back around to reinforce your stitches when you do that just like if you are adding a new bead finish up by attaching the outer beads so that's how you stitch these little brick shaped beads into brick pattern and if you're going to do a different two hole bead shape you can do just same thing. I can actually slide this off here and show you the bottom you can see it still looks like bricks you just need to be aware with the triangle beads and these other shaped to hole beads, that you're going into the right hole of the bead because it does have a top side and a bottom side whereas the bricks are symmetrical on the top and the bottom and if you need to learn how to tie off and add new thread we do have a video on how to do that. You could watch that to learn. Go to www.beadaholique.com to purchase beading supplies and to get design ideas!

You recently viewed

Clear recently viewed