


Related Videos

How to Use the Baby Jewel Loom featuring the Miyuki Round Designer Palettes
In this video you will see the differences between the Baby Jewel Loom and the regular Jewel Loom by Beadalon. The Baby Loom is about half the siz...
View full details

Beadaholique Live Class: Wrapit Loom Jewelry
In this Beadaholique Live Event Event, join designers Julie Bean and Kat Silvia to learn all about the different types and styles of jewelry you ca...
View full details
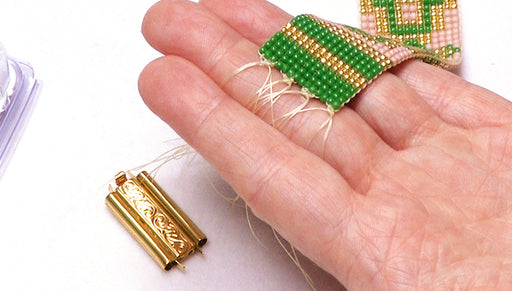
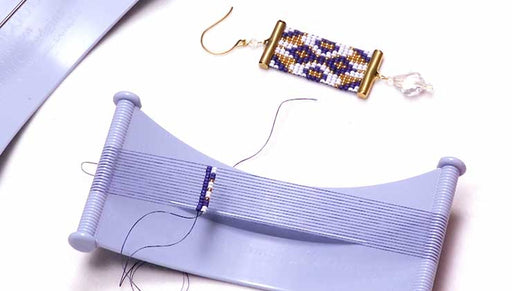
How to Add a Beadslide Clasp to Loom Work
In this video learn how to add an Elegant Elements Beadslide clasp to a piece of finished loom work. These clasps add a lovely finished professiona...
View full details