
|
Domed Wooden Dapping Shaping Forms in Assorted Sizes for Metal SKU: XTL-0259 $14.99 |

|
Sharp Flush Cutter Pliers - For Cutting Beading Wire (1 Piece) SKU: XTL-5600 $23.99 |

|
Xuron Jeweler's Super Fine Pliers Chain Nose Flat Nose SKU: XTL-5450 $25.99 |

|
The Beadsmith Jewelry Fine Round Nose Micro Pliers SKU: XTL-5514 $8.49 |

|
Beadalon Beading Mats - Prevent Bead Rolling 12 x 9 Inch (Set of 3) SKU: XTL-9930 $3.99 |
Related Videos

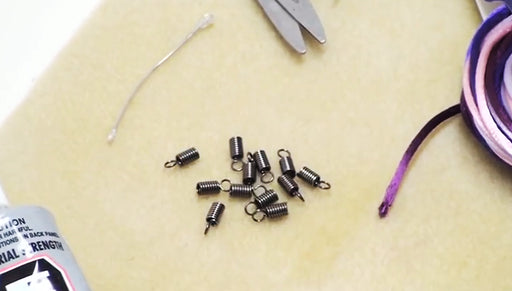
How To Use Spring Coil Ends
Beadaholique's Andrea shows us how to use these professional quality cord ends to finish off cord up to 2.5mm thick. Perfect for the latest leather...
View full details
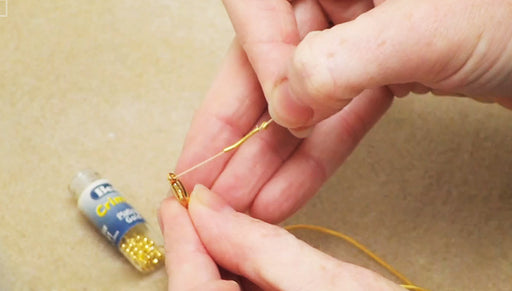
How To Use French Wire
Use French Wire to create a finished, professional look to your designs. This video shows how to use French wire over beading wire and shows you ho...
View full details
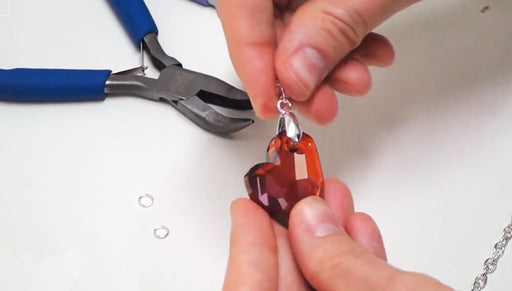
Learn To Bead Video #7: Make A Simple Austrian Crystal Pendant Necklace
Use all the knowledge you have gained in the first 5 videos of the Learn To Bead series and make your second project: a simple and elegant necklace...
View full details