


Related Videos

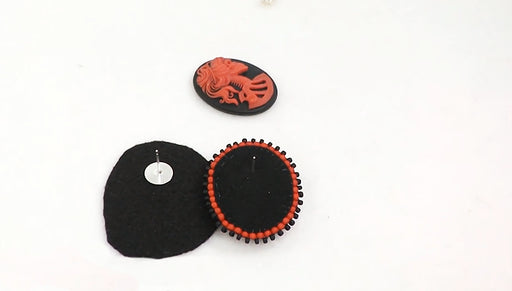
How to Hide an Earring Post in Bead Embroidery
In this video, you will learn a quick tip about how to make your bead embroidered earrings without exposing the back of the post. This creates a se...
View full details
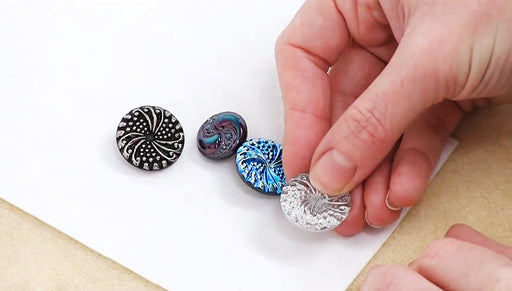
How to Use Glass Shank Buttons in Bead Embroidery
In this video see how you can incorporate buttons with glass shanks into your bead embroidery. Two different techniques are shown which allow you t...
View full details

How to Secure Chain for Bead Embroidery
In this video, learn how to attach chain to your bead embroidery foundation to add dimension and texture.