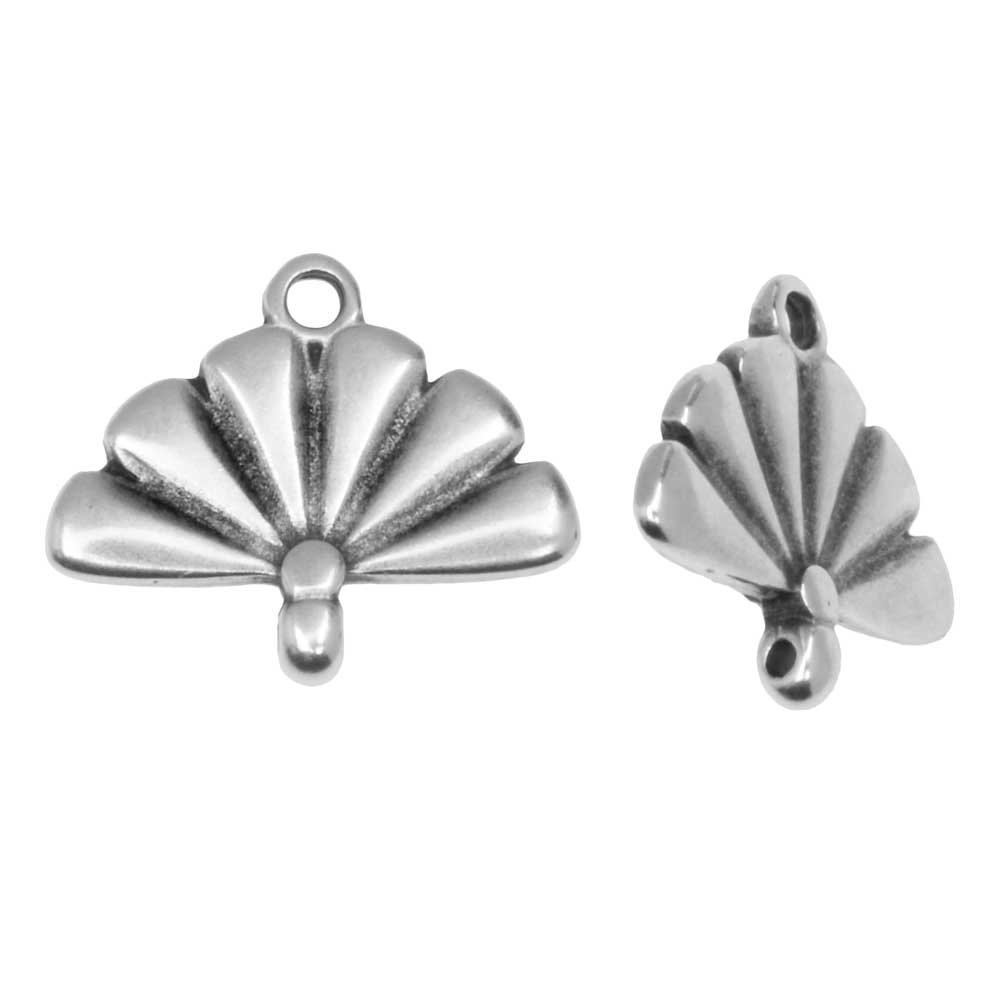
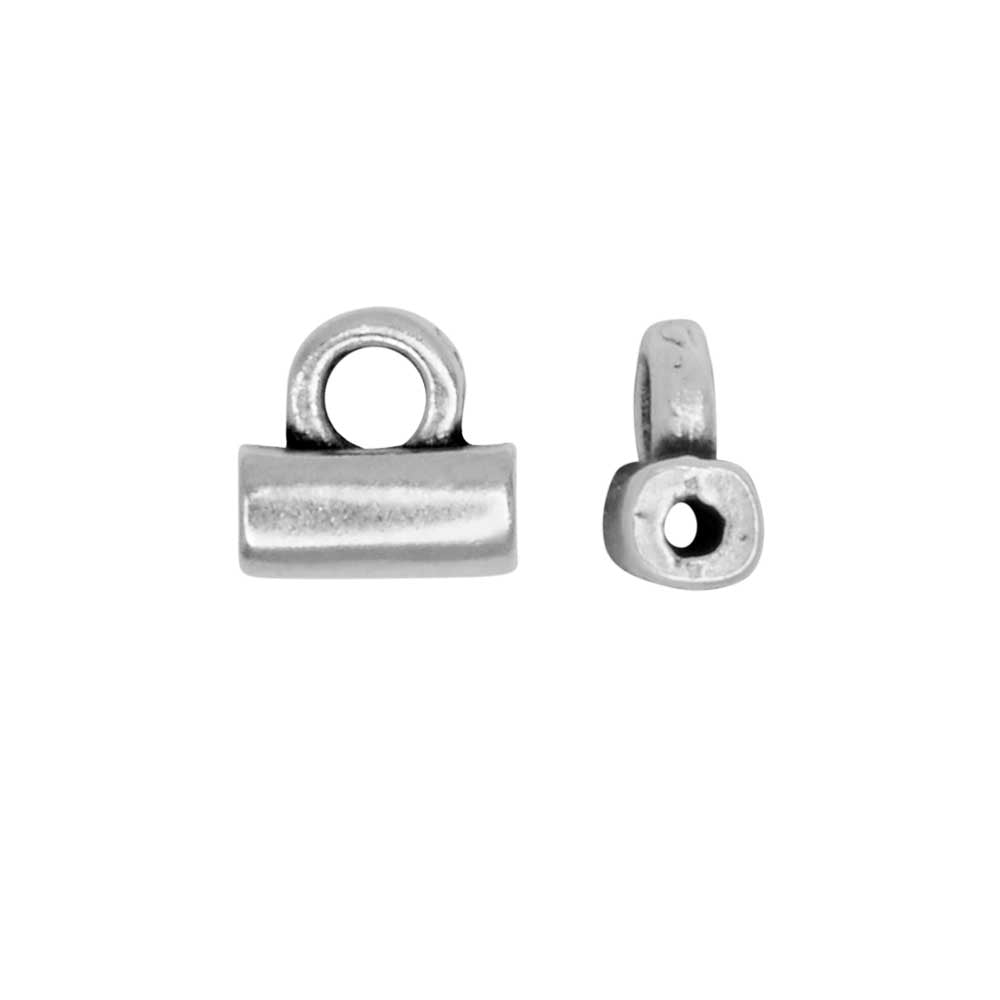
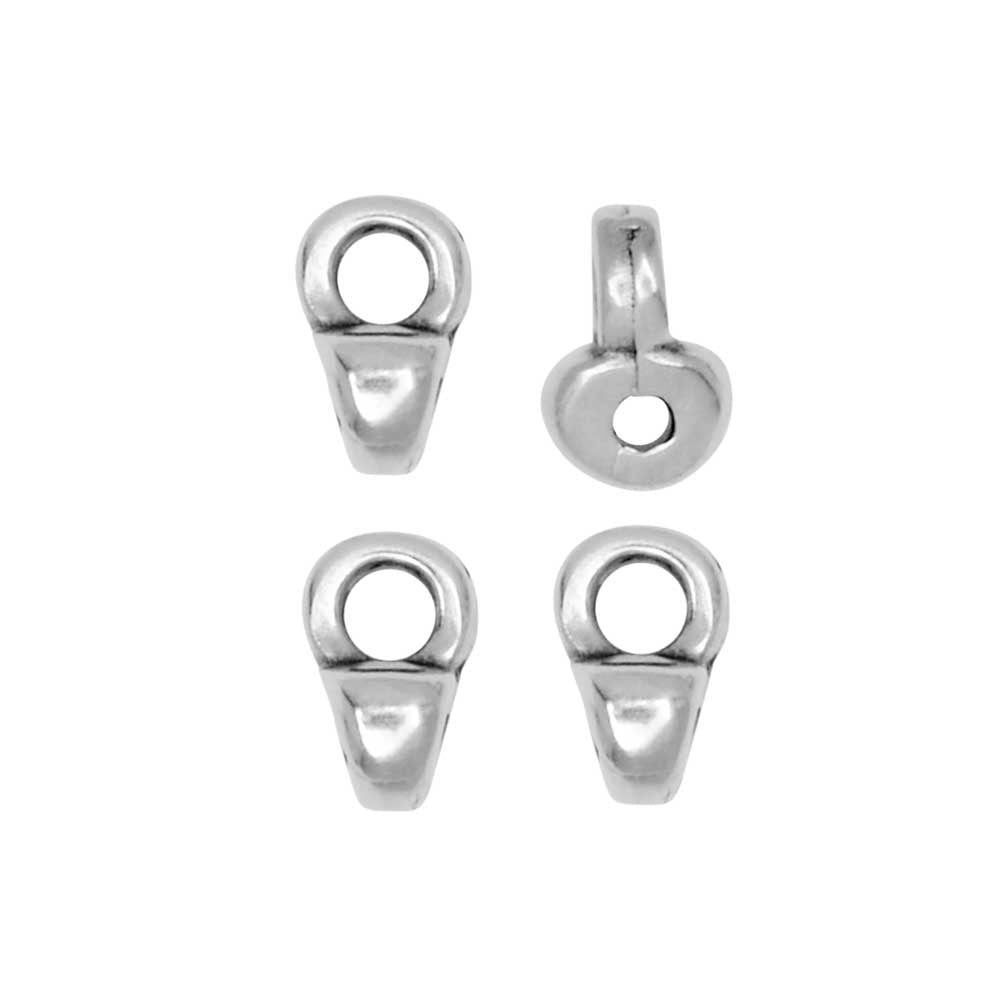
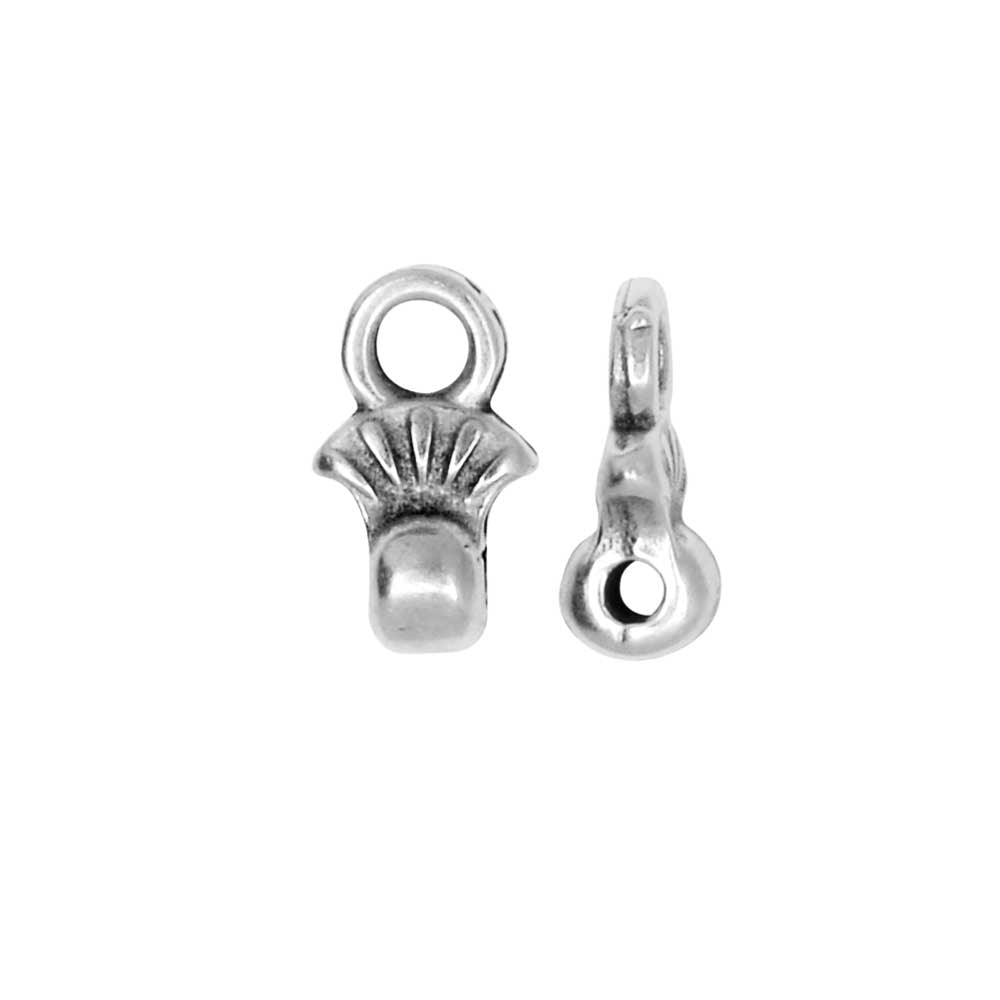
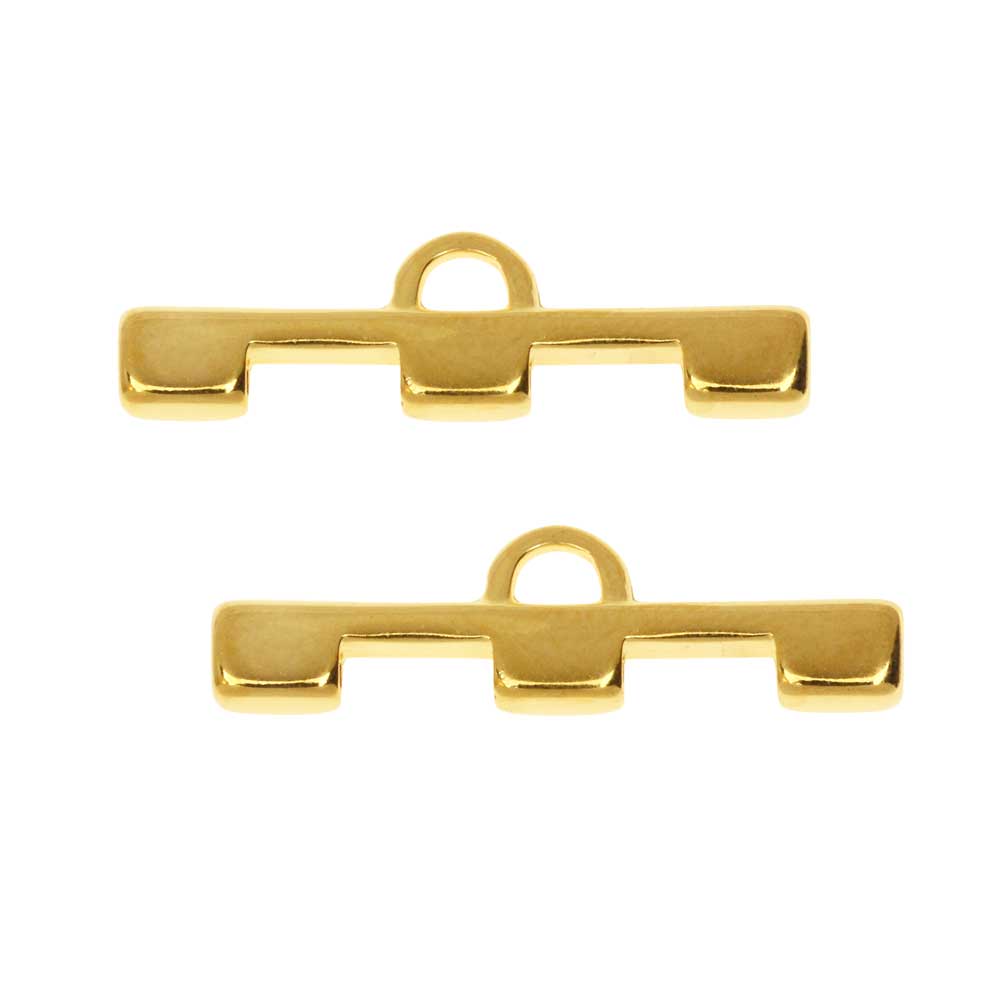
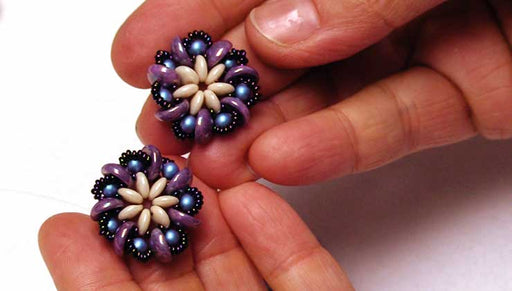
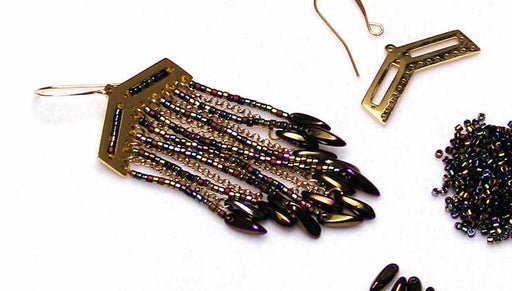
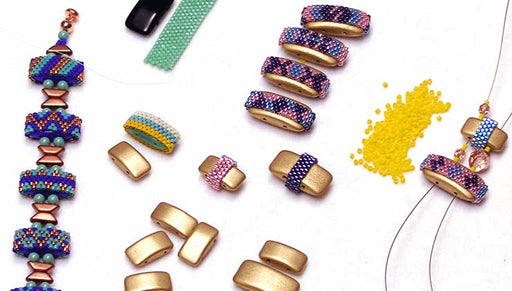
How to Use Cymbal Bead Endings in Bead Weaving

SKU VID-1654
Designer: Kat Silvia
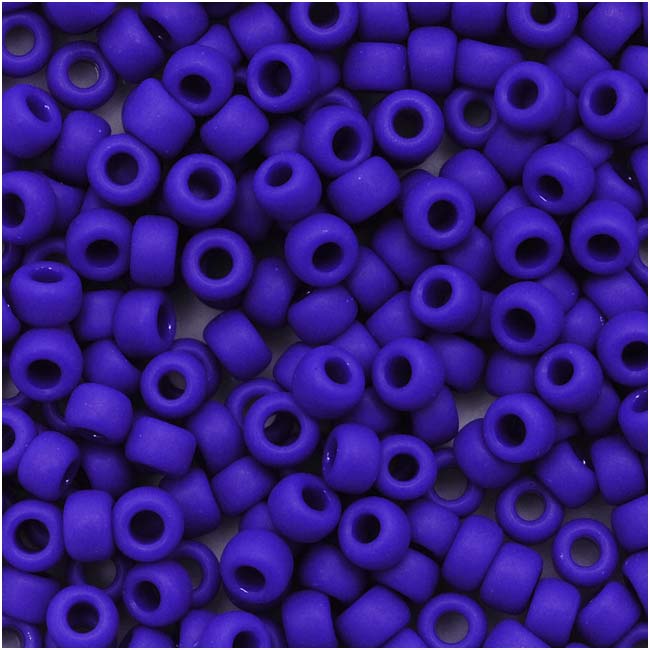
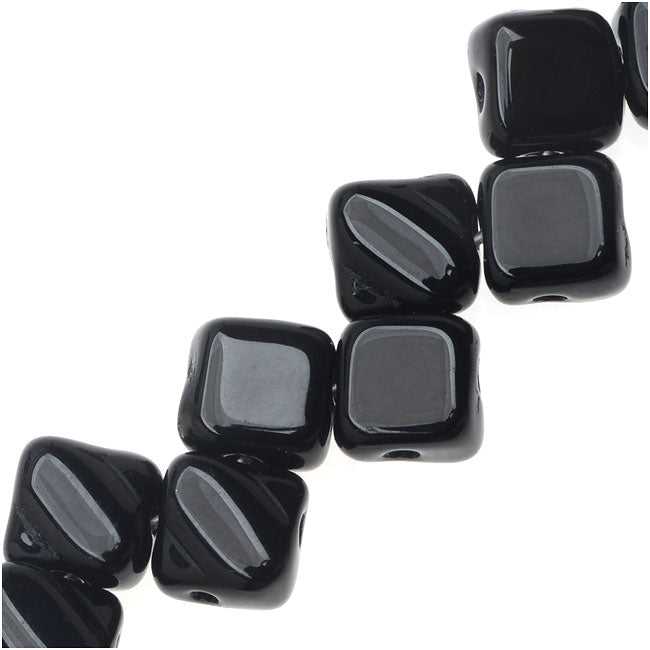
In this video you will learn how to seamlessly work in Cymbal bead endings into your bead weaving for a nice clean finished look. These endings are designed to work with various beads such as 8/0 seed beads, Tila, Half Tila, Honeycomb, Silky Beads, and more.
FEATURED IN THIS VIDEO
Audio Transcript
Note: This audio transcript is auto-generated and may not be completely accurate.
Hi, this is Kat with beadaholique.com and i've sort of fit them into some of these little endings so you can see that they have some really unique little styles and what I love about them is they have these little loops at the top and it's different little styles that you can implement into your designs however you want to so let's say you want something a little flatter you can go for this half drilled sort of one here and then we have the full silky then we also have these guys here which are going to be that nice bridge and this is actually wonderful because it's gonna provide some structure for your bead weaving so that you don't have to create crazy thread bridges or add in seed beads where you weren't already using seed beads so these are gonna be really great so these are the ones that we have for the silky beads and then over here I have a couple of different designs for the two whole honeycomb beads so we have this one here which really just looks like a honeycomb bead with that loop on it which is really really cool I love using that one and then this guy here is a little bit more of a slim one so in case you didn't really want a lot of metal on your bead weaving you can just add that little touch there and it has that nice little loop to attach a clasp now over here we have the gem duo's now this one has some really unique little Styles here let's start up here at the top so this one obviously is a much more stylized version and I love this antiqued silver and you can see it down here in a sort of gold version so very very cool very different look and again we have some more that have a little bit more of that structure a little bit more of that metal and even down here same a little style and you can do four or three and it goes with the holes on the outside there so you can actually add beads on the outside as well so let's say you wanted to do something and you can actually say that I've done it up here where you've added a bead to the outside so you could do two in the center or add one to the outside to continue that taper so it's entirely up to whatever your design requires now again we see those little slim ones like we saw with the honeycomb beads and we also have these little tiny Stoppers here so they have little holes on the sides and then that loop at the top now this guy is kind of interesting here this is actually sort of a little bit more of a side bead as they like to call it but with it having that loop you can also use this to attach something and you can just see how nice and slim it Nestle's into a design and just sort of finishes that off for you but let's say you wanted to have this at the bottom of your design maybe you were making an earring you could turn it on its side there and you could hang something from it maybe a tassel or a gemstone or a Swarovski crystal so you can utilize this as well so it doesn't actually have to be used for a clasp so then we go up back here and you can see that we have that another loop and that can be used in the same manner as well so it can either be to attach a clasp or to attach an earring hook or a dangle of any choosing alright so over here we have the ones that fit the Teela's and the half Teela's so here's kind of how it works in this one over here you can see that this has that full Tila size that nice square size so I fit two in there just so you can kind of see that and if you look at the side version you'll see that there's two holes there so you can drill right through with both holes of the two hole Tila's and in contrast we have this one here that only has a single hole now you can see that it would still fit a Tila and I have that example down here so you have that second hole ready for you to maybe add on some more Teela's here so if you're creating like a little bit of a brick design you can utilize that there as well so you can just sort of see how that starts to fit together there but you can also do the half Teela's because of course I have to to have teyla's make one Tila so you can actually do something that has multiple design elements in there as well and then we also have some nice little slim tiny ones here that are just gonna help create that extra little loop you can put two next to it and then we also have that sort of bead replacement style there that has that it looks like a little Tila bead with that little loop now these ones are kind of fun this is something that you could put in the center of your design just to add a little metal element to it so each one has that single hole going up the side so you can add in you know maybe a couple little structural pieces to your bracelet in case you're worried that it might be flopping around I don't know what design you're working with but it gives you that opportunity to do so alright finally we have over here we have the super duos and this is the last of our two whole beads now these we have the little tiny loops and we have that little again that we're looking at that kind of bead replacement one it looks like a little super deal and then we have these little itty bitty guys here and now these are super tiny and it'll take the place of sort of half of that super duo there and it has that nice little loop now you could of course stack a couple of these on in case you're creating let's say a tube clasp if you have something like that and you want to connect it with little jump rings you can absolutely do that and then we also have that nice little structure one here where I've put two of those little super duos in there so you can see how nicely they nestled together now if you're working with seed beads we have a couple of options there we have this guy here and this is actually really cool so all I did is I just strung some beads there just because I wanted to show you that eight eleven o beads fit inside there so this is a really a cool kind of thing if you're doing any type of bead weaving where this might sort of fit with some 11 OC beads or if you're trying to do a loom piece you can actually utilize this at the very end of the loom and you can also extend it if you needed to so that will just fit right outside there so that's a nice little tapered look it's all about the finishing technique with these alright so finally let's get back to our Eidos here so I have a couple of little extra pieces here there's a little tiny one there and I also have this big beautiful fan piece which you can do again if you're finishing off maybe a loom piece with some of those eight OC beads alright so I have an odd count peyote excuse me an odd count peyote here that I'm going to attach this little symbol here okay so how does this work I have my thread coming out of my bead right here so if I was going to add another row or finish off a class per se I'm going to just sort of look at it on my table and you can see that that little portion right there where my needle is that's gonna act as a second bead so what I'm gonna do is I'm gonna pick up and I'm gonna go through that one side there and just as though it were a bead I'm gonna go through the next bead that's right next to it and just kind of pull that through and you can see that it starts to nestle and then I'm just gonna continue my pattern so I am going to add a bead and I'm gonna go into that next bead there and this is just sort of finishing off that that peyote alright so now I'm at the second one so again I'm just gonna treat it like a bead and that's sort of you know the little motto with these is you just treat them as though they're the next bead in your row and you're gonna be just fine so you can see that I'm going down through that next one just as though I just added on another bead and then I'm gonna pick up another bead and go through and then treating it like the other bead I'm gonna pick that up and go through and go through that next bead and then I'm adding on another bead in my row which is that blue bead and now I'm coming to the end and I'm just gonna go straight out there we go and I want to make sure to create a little thread bridge on this side so I'm gonna go down through and kind of come up there and now you're actually all set to once you've kind of done that little turnaround to go all the way back through and secure it but that's actually pretty secure and that's one of the things that I really like about this is you're adding in that metal element but that's how you know nice and easy it finishes off and you could just sort of continue that pattern up there you know you can go down through the beads it's a design choice it's entirely up to you but I like the way that it looks just sort of tapers off and just kind of continues like that so that is how you use the symbols bead endings in bead weaving it's very simple if you just sort of treat them like there are new beads you'll be absolutely fine and then you just tie off your thread as you normally would so these are actually really wonderful pieces you can shop all of these and get even more specific details about them by heading over to beadaholique.com

You recently viewed

Clear recently viewed