
|
ICE Resin, Angled Paint Brushes for ICED Enamels & Paper Sealant (6 Pack) SKU: XTL-880 $3.49 |

|
Black Velvet T-Bar Earring Stand / Jewelry Display 4.5 Inches Tall SKU: ZDI-6300 $6.75 |
Related Videos

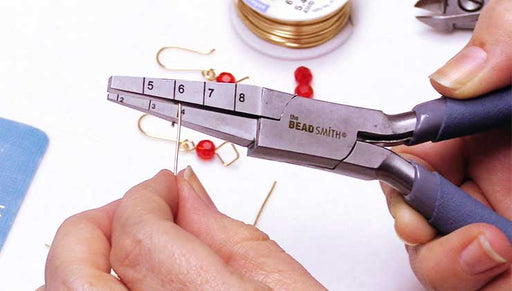
How to Use the SquareRite and LoopRite Pliers to Make a Pair of Geometric Earrings
In this video, you will see how, using just two components, you can make a geometric pair of earrings by using guided wire working pliers from The ...
View full details
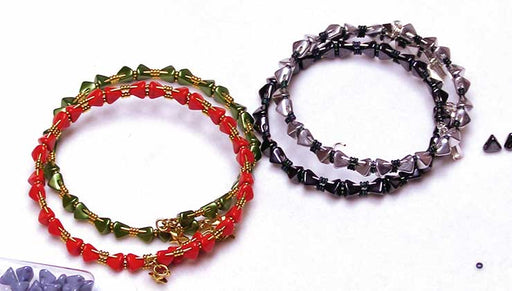
How to Make a Super Kheops Par Puca Memory Wire Bracelet
In this video learn how to make a memory wire bracelet using 2-hole Czech Glass Super Kheops Par Puca beads, Toho demi round beads, memory wire, an...
View full details
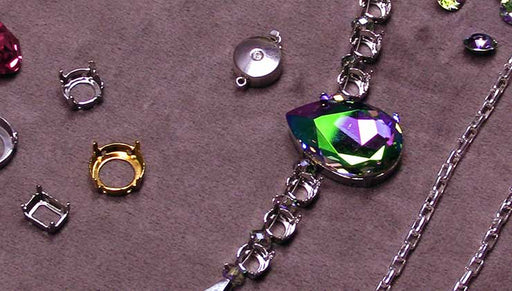
How to Make an Austrian Crystal Necklace with Fancy Stones and Chain
In this complete how-to video, learn how to make a beautiful necklace featuring Austrian crystal chatons and fancy stones placed into their custom ...
View full details