
Related Videos

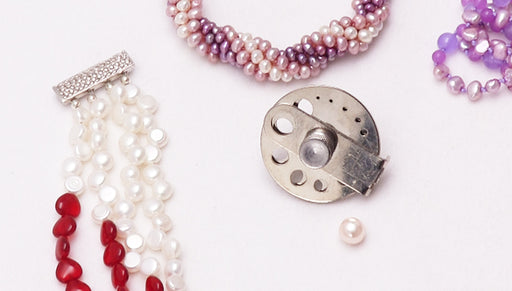
How to Use a Pearl Vise
In this video learn how to use a pearl vise to securely hold your pearls in place for drilling, inspection, or reaming. This easy to use tool fits ...
View full details
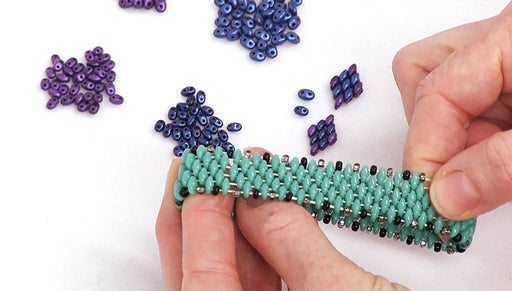
Size Comparison of Czech Glass SuperDuo and MiniDuo Beads
In this video see a side by side size comparison between Czech Glass SuperDuo and Czech Glass MiniDuo beads. These 2-hole beads are identical in ev...
View full details