How to Bead Embroider a Basic Beaded Edge

SKU VID-0109
Designer: Julie Bean
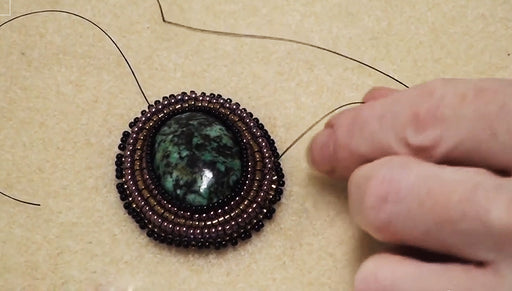
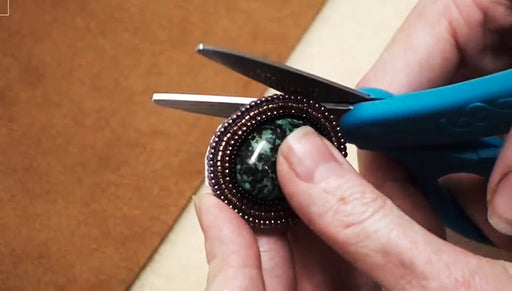
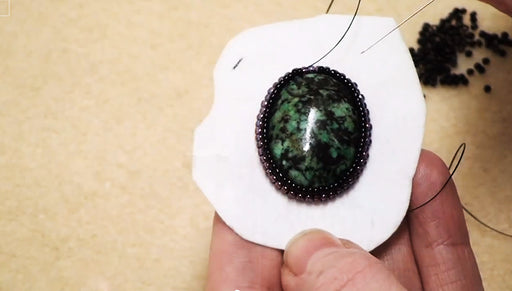
In this video, learn how to bead embroider a basic beaded edge. This step creates a finished, professional look for your bead embroidery projects and helps to secure the backing to the foundation. You will find yourself using this stitch over and over.
Audio Transcript
Note: This audio transcript is auto-generated and may not be completely accurate.
Hi, this is Julie from Beadaholique.com and today I'm going show you how to bead embroider a basic beaded edge. You can see in these two cabochon here that I've beaded around. But they're unfinished. They've got their backing glued onto their foundation which is Lacy Stiff Stuff but they really need something to finish that edge. One option which I've shown in a previous video is to do a pico edge which is this right here where you got almost a ruffled effect. You have a little bead sticking out from the end. That's how that one looks but the most common is gonna be a basic beaded edge and I want to show you how to do that right now. I've got a beading needle and I've threaded it with for me about thirty inches of thread for this size project. It's going t vary based upon your size of your cabochon and the bead work you're going around. What you're going to want to do is do not tie a knot onto your thread but just pickup a single bead onto your needle. Going from the front side and actually between a couple of the beads along the outside edge you go down through the foundation and also the backing. Pull and you what to leave yourself a tail at about six, seven inches because you need to go back and thread a needle onto that tail at the very end. So go all the way through the backing go back through that bead that I just strung on there. Helps a little bit if you can hold that tail. Helps from your threads getting to tangled. You want that bead to just sit right on top of the two layers. Now I'm actually going to hold this tail down. I don't want to get it tangled. Then take my needle pickup one single bead and again go through the topside. Sometimes it's a little tricky to get it all the way through to the back side. Pull down. Then go back through that same bead. Just bead it and pull. The first couple are gonna be a little bit tricky just because you don't have a knot on this thread. So it's a little bit of a balancing act but as soon as you get a couple on there it's going to feel like it's holding firm. Again a single bead go through the top, front, through the back Pull down and go ahead taking you're needle. Pull it back up through that bead and pull. You want these to be sitting right on the edge of you bead work so it's right covering that sandwiched backing and foundation piece. I'm going to show you this again and then you're gonna go ahead and bead the entire round. So single bead go through the front to the back pull go back up through that bead help your threads along the way if they get tangled and just pull. So now go ahead do that all the way around until come back to where you started it. Now that you've beaded around the entire edge and you're almost to your starting point you just need to just add a extra bead or two. I'm going to do that step with you. Same exact process. Just pick up a bead go from the top side down through the backing go through that bead. Make sure your tail end from your original beading stays out the way. And now you have to just decides if you have room to add another bead or you just connect it to the first one you beaded on there. Here you can tell you don't really have room. If you have to guess if you're doing this and say you have a little bit of a larger gap than this and you're considering do I add another bead, don't I add another bead, nine times out ten it's gonna be you're not going to add another bead and you're just going to join them and pull the stings tight so that it pulls your beads closer together. If you try to push it and add that beading and really don't have enough space it's going to create a ripple in your work. It's not gonna look as finished as if you just maybe hard a bit larger gap and tried to close it by pulling the strings together. So that's just something to keep in mind. To finish this what I want to do is I want to go now through the original bead that I strung and instead of just going here on the backing I'm actually going to try to catch some of this backing like so. Here's my tail from the original work and I'm just gonna pull it that's gonna pull those beads together. So now what I wanna do is I want to take my needle off of my thread. I want to thread it onto the tail that I started with. If you have two needles you can actually just keep that other need on and then just thread a second one on here. Take this thread and I want to loop it down through that last bead I strung and down into my backing as well. So now I have that nice thread arch again so I got thread arches all the way around. The needle just came off, that's fine. So now I've got two strings out the back. I just want to tie them. It's a simple knot right there. First to begin pull that down. Now I'm I'm going to do a surgeons knot. So go over and under over and under pull down. Now I don't want these strings hanging out the back so I need to go ahead and re-thread my needle. I just need to work this into my bead work. You do it along the outside or you can actually come to the front side and work it in here. When you're happy with it just pull it through. Take your thread zapper or a sharp pair of scissors. We're going to zap it off. Here we go. We still have to do the other side as well and then you've completed your edging. so here's what we started with. Remember we had a sandwich effect. You really do need something to cover that. So here's what the final piece looks like. Here is the pico edge which was another variation. So there's lots of choices you have in bead embroidery on how to finish your work but it does create a really nice polished professional finished look. Go to Beadaholique.com for all of your beading supply needs!

You recently viewed

Clear recently viewed