
|
CASTIN CRAFT Casting Epoxy Resin Opaque Black Pigment Dye 1 Oz SKU: TRC-86 $10.99 |

|
CASTIN CRAFT Casting Epoxy Resin Opaque White Pigment Dye 1 Oz SKU: TRC-87 $10.99 |

|
Open Back Bezel Pendant, Square 14.5x18mm, Antiqued Gold, by Nunn Design (1 Piece) SKU: PND-08263 $3.69 |

|
Sharp Flush Cutter Pliers - For Cutting Beading Wire (1 Piece) SKU: XTL-5600 $23.99 |
Related Videos

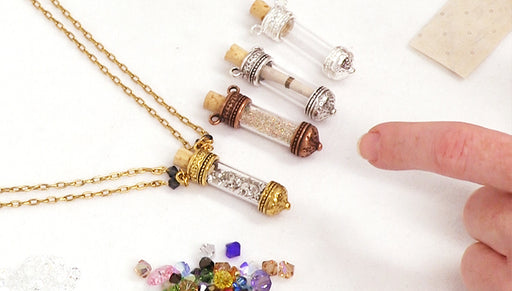
Design Ideas for Filling Nunn Design Bottles
The Nunn Design bottles featured in this video make great focals and can hold a wide array of 'treasures' including everything from glitter to a ro...
View full details
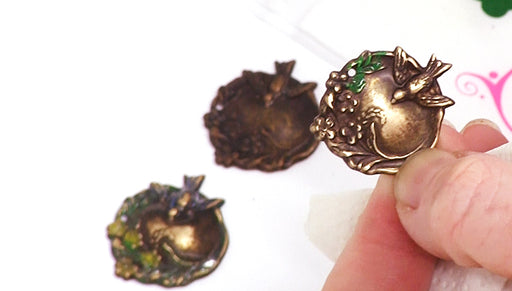
How to Add Patina and Magic-Glos to a Vintaj Pendant
Learn how to create a high gloss finish on pendants and charms by first applying Vintaj Patina and then adding a top coat of Magic-Glos UV Resin.
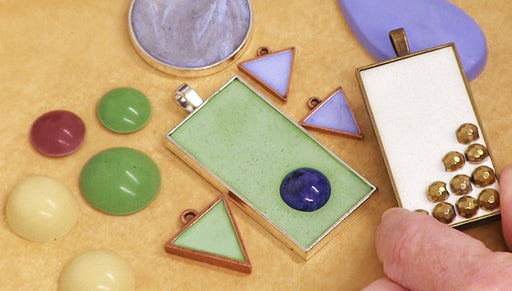
How to Add Color Pigments to Concrete for Jewelry
Learn how to add color pigments to your concrete to make a wide array of jewelry designs. This is a very easy and forgiving technique.