
|
Nunn Design 2-Part Epoxy Resin Kit, Jewelers Grade Clear, 8 Oz Kit SKU: TRC-14 $44.09 |

|
CASTIN CRAFT Casting Epoxy Resin Opaque White Pigment Dye 1 Oz SKU: TRC-87 $10.99 |

|
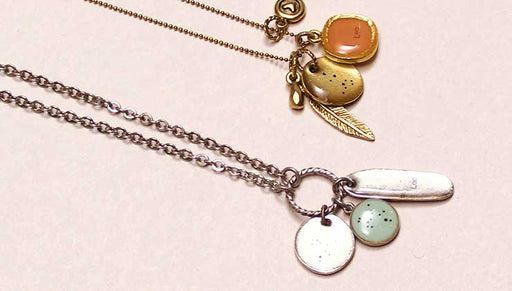
Nunn Design Open Pendant, Grande Half Oval 28.5x31.5mm, Antiqued Silver (1 Piece) SKU: PND-08423 $4.99 |

|
Nunn Design Bezel Pendant, Grande Half Oval 28.5x31.5mm, Antiqued Silver (1 Piece) SKU: PND-08414 $8.95 |

|
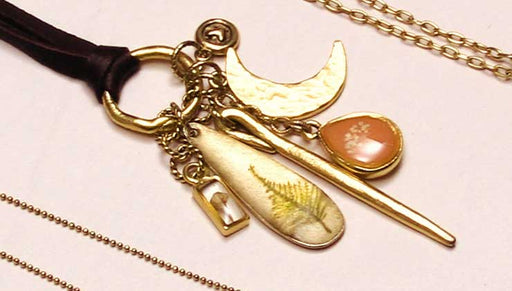
Nunn Design Open Back Bezel Charm, Pear 14.5x22mm, Antiqued Gold (1 Piece) SKU: PND-907 $4.39 |
Related Videos

How to Use Nunn Design Transfer Sheets and Resin on Flat Tags
In this video Becky Nunn of Nunn Design shows you how to make unique pendants by using transfer sheets, resin, and flat tags. This is a great mixe...
View full details
How to Use Nunn Design Resin to Seal Pressed Organics onto Flat Tags for Jewelry
In this video Becky Nunn of Nunn Design shows you how to use resin to seal organic materials onto flat tags in your jewelry designs. This techniqu...
View full details

How to Add Essential Oils to a Lava Bead Bracelet
In this video, learn how to add essential oils to a lava bead bracelet. This is a great way experience aromatherapy while on the go. The essential ...
View full details