
|
The Beadsmith Bead Loom Kit For Beginners - Weave Necklaces Bracelets And More! SKU: XTL-6110 $13.99 |

|
Japanese Nylon Beading K.O. Thread for Delica Beads - White 50 Meters SKU: XCR-9701 $6.49 |

|
Fiskars 5 Precision Tip Scissors - Super Sharp SKU: XTL-5700 $7.45 |

|
The Beadsmith Ultra Suede For Beading Foundation And Cabochon Work 8.5x8.5 Inches - Grey SKU: XCR-4200 $8.99 |

|
The Beadsmith English Beading Needles Size 12 (4 pcs) SKU: XTL-3006 $3.99 |

|
Beadalon Large Beading Mats - Prevent Bead Rolling 13 X 18 Inch (Set of 2) SKU: XTL-9935 $6.75 |

|
E6000 Industrial Strength Glue Adhesive (1 Oz) SKU: XTL-1051 $6.99 |
Related Videos


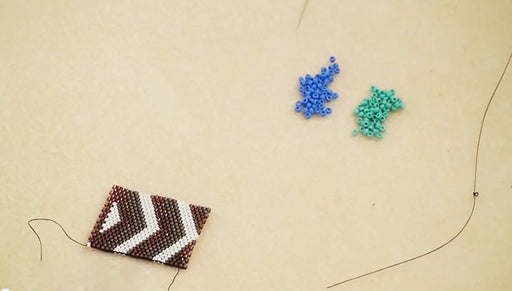
How to Bead Weave a Star with Brick Stitch
In this video, learn how to combine circular and flat brick stitch to weave a five pointed star shape.
How to Flat Odd-Count Peyote Stitch
Learn how to flat odd-count peyote stitch in this bead weaving tutorial. This stitch is a bit more work then even count peyote, but it allows you t...
View full details
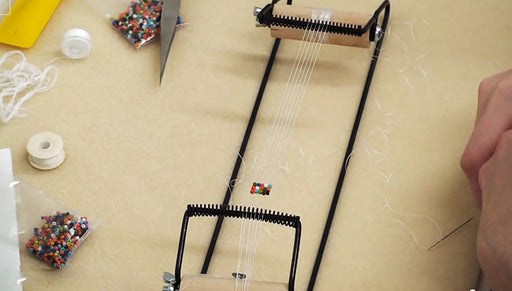
How to Use a Bead Loom
This video demonstrates how to string and weave on a bead loom. Quickly and easily create woven seed bead creations!