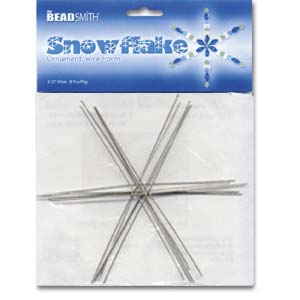
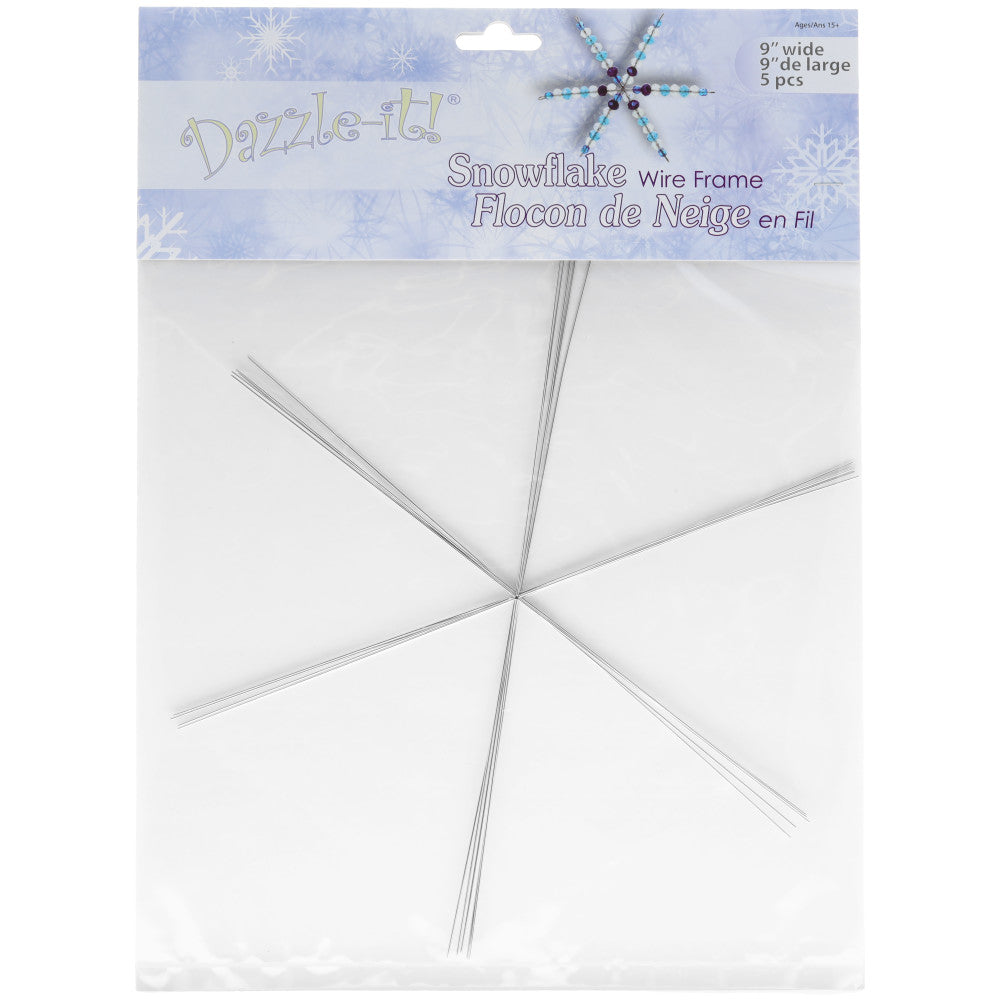
How To Make A Beaded Snowflake Ornament

SKU VID-0091
Designer: Julie Bean
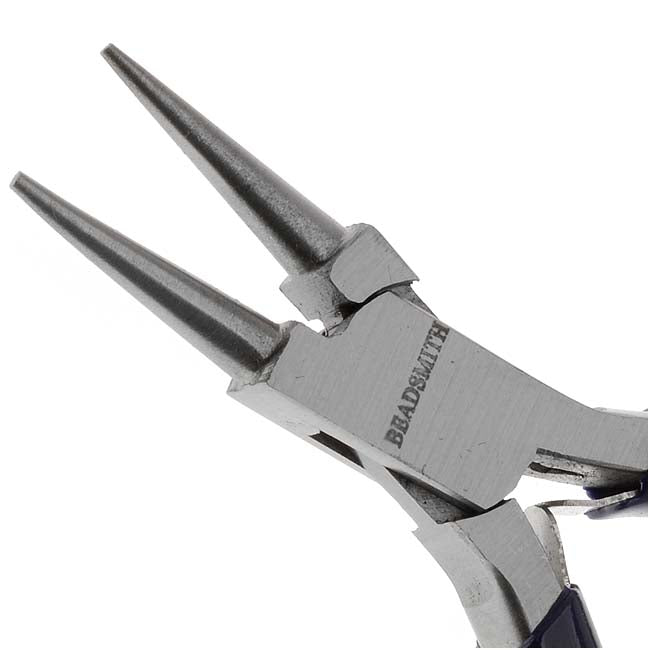
Learn how to use a wire snowflake form to make a beautiful beaded snowflake ornament. Very simple to make, this ornament will look lovely hanging from your tree. These would also make beautiful window hangings or fun earrings.
Audio Transcript
Note: This audio transcript is auto-generated and may not be completely accurate.
Hi, this is Julie with Beadaholique.com and today I want to show you how to make this beautiful snowflake using a premade wire form. This is a great project for the holidays and easy one to do with kids as well as long as they're supervised and help them put the beads onto the form and then you can help them make the little loop at the end. You have quite a few choices when you are gonna be making these. They come in four different sizes. You have the largest one which is nine inches wide and you actually get four pieces in a package which is really nice. The next size down six inches and you're gonna get six pieces. Then you have one that's four and a half inches wide and one that's three and three quarters inches wide and you get eight pieces in here. If you wanted to you could make a very large snow flake earring out of this as well. In terms of the supplies you're going to need an assortment of beads. Totally your choice of what you want to use. I have some crystal AB which has some nice light reflection going on what it. I've got some light blue as well. I also have some seed beads which are good to use as spacers between you're larger beads. You can see we're done it here on the sample. You're going to need a wire form, whichever one you like. I've actually pulled some ribbon as well that we are going to use to make a hook to attached to your branch. The only tool you're going to need is a pair of round nose pliers. I've actually got a pair of looping pliers here as well which I prefer to use instead of the round nose. You'll see how I do that when I make this snowflake but a round nose pliers will work fine as well. So to begin. Really simple. You're just going to start stringing your beads onto your wire form. You do want to make sure that you don't necessarily put a large bead right down at the end because what's going to happen is when you go to your next branch it's not perfect. So you want to start with a smaller bead. You might want to even start with a couple seed beads. You literally just place them on to your branches. Onto the arms of the snowflake. I'm going to do three. Now I can go ahead and add a little bit larger bead because I know now I'm not going to have that problem of the next branch not fitting. So add these however you'd like. It doesn't have to be any rhyme or reason. Just what you find visually appealing but you are going to want to make sure that when you do all of your different sides of the snowflake that they match the pattern you've created here. A couple of seed beads, another light blue bead. You can see I'm just kind of deciding as I go here. There's not really a set pattern. I'm just thinking what might look nice. Okay when you get towards the end of your piece of wire you're going to want to be cautious. That you don't go close to the tip. For instance a bead like that is not going to work because I have no round to make the little loop that I need to make. So start thinking about that as you get towards the end here. We have just about three eighth of an inch left. You're going to go ahead and take your round nose pliers or your wire looping pliers and I do like the wire looping pliers for this. I'm going to insert the wire so it's right up along the edge of my wire looping pliers and I'm going to make a loop. Now these beads are secure on my form. I'm going to put this on the side but you're going to go ahead and compete all the different branches of your snowflake. When that is done it'll look something like this. Of course with your own pattern and you'll have a loop on each side. So what you'll want to do is you're going to want to cut this length. This happens to be a three foot length. I bet I can get four different ornament hooks out at this so I'm going to divide it so that I can cut it. So I'll just have one forth. I want to cut here going to take my scissors there we go. That's going to give me plenty of room to work with. You're just going to thread your ribbon through and now you can tie directly onto the branch. Just tie a knot or a bow. Or if you want to pre do it you can just go ahead and tie a knot. To make it extra secure and I'm going through one more time. That knot is never going anywhere. I'm just going to trim off. Now you have an ornament to hang on your tree, in your window or anywhere you'd like this holiday season. Go to Beadaholique.com for all of your beading supply needs!

You recently viewed

Clear recently viewed