


Related Videos

How to Make the Freesia Dance Bracelet featuring the Czech Glass Tee Beads
In this video you will learn how to assemble the Freesia Dance Bracelet by simple bead weaving and stringing. This design features Czech Glass Tee...
View full details
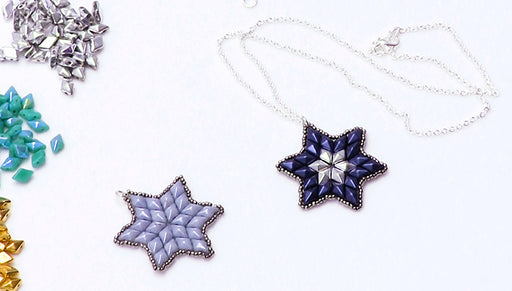
How to Bead Weave a Star Using Czech Glass 2-Hole DiamonDuos and Seed Beads
In this video, learn how to bead weave a star from start to finish using 2-hole DiamonDuo beads and 15/0 Toho round seed beads. Reminiscent of eith...
View full details
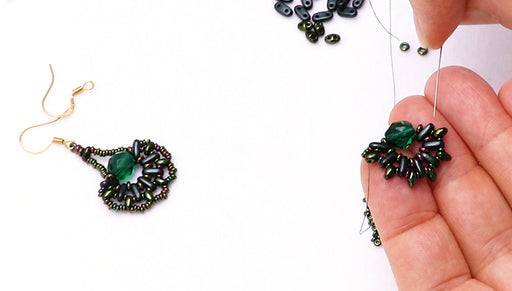
How to Make the Peacock's Pride Earrings
In this video, you will learn from start to finish how to create the Peacock's Pride bead-woven earrings using Czech glass 2-hole MiniDuos, CzechMa...
View full details