


Related Videos

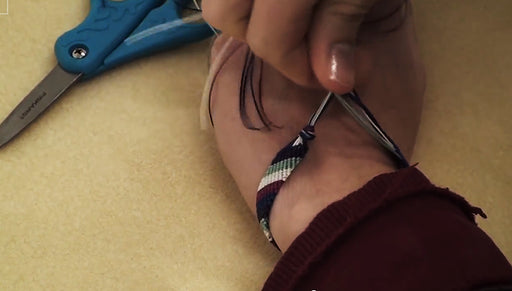
How to Make a Friendship Bracelet
Learn how to make a basic striped friendship bracelet out of nylon cord in this video. A super trendy, simple project that's easy to learn.
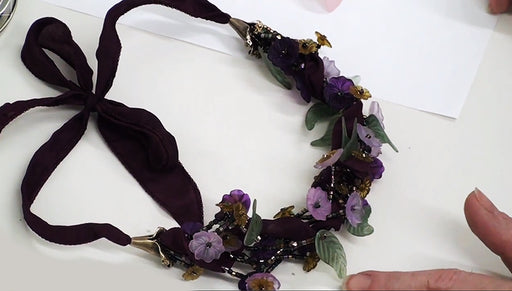
How to Color Lucite Flowers and Leaves with Gilders Paste
In this video, see how to quickly and easily color lucite flowers and lucite leaves using Gilders Paste. You can create a wide range of colors and ...
View full details