
|
Wire Elements, Tarnish Resistant Gold Color Copper Wire, 20 Gauge 15 Yards (13.5 Meters) SKU: WNT-2033 $9.99 |

|
Earring Findings, Long Earring Hooks 25mm, Gold Plated (25 Pairs) SKU: FEA-3030 $11.29 |

|
Eurotool Bench Block Helper - Rubber Base With Interchangeable Steel And Nylon Blocks SKU: XTL-0250 $21.99 |

|
The Beadsmith Jeweler's Chasing Hammer - 1 Inch Head - Metal Smithing SKU: XTL-2152 $13.99 |
Related Videos

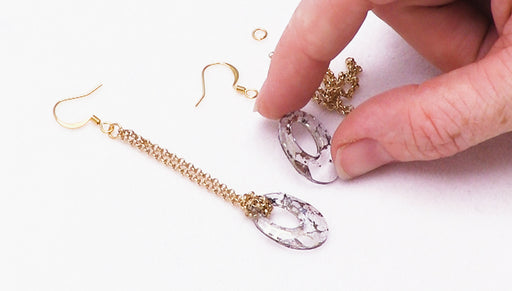
How to Make Lark's Head Helios Earrings
In this video see how to quickly and easily make a pretty pair of Austrian crystal helios earrings featuring rolo chain that has been tied in a lar...
View full details
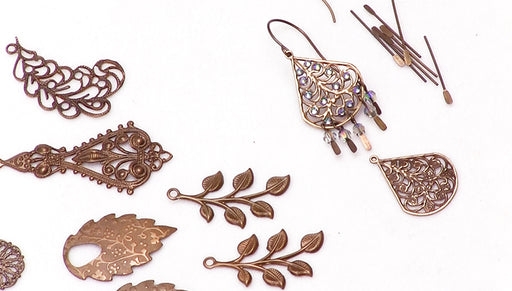
How to Make the Vintaj Cecilia Earrings
Featuring a lovely Vintaj filigree accented with Austrian crystal flat back rhinestones, these festive and flirty earrings are a fun choice for bot...
View full details

How to Make Colorful Suncatchers with Wire Frames
In this video, you will learn a fun summer craft that is easy to do and only takes a few minutes to construct. The possibilities are endless with ...
View full details