
|
The Beadsmith Bead Loom Kit For Beginners - Weave Necklaces Bracelets And More! SKU: XTL-6110 $13.99 |

|
Fiskars 5 Precision Tip Scissors SKU: XTL-5700 $7.45 |

|
Beadalon Large Beading Mats - Prevent Bead Rolling 13 X 18 Inch (Set of 2) SKU: XTL-9935 $6.75 |

|
Set of 6 Big Eye Beading Needles in 4 Sizes - Easiest Needles To Thread! SKU: XTL-3165 $4.57 |
|
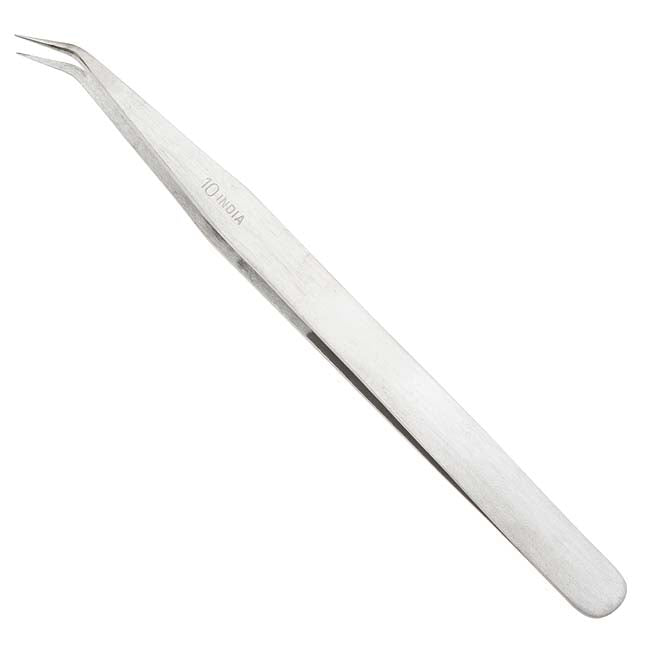
The Beadsmith Bent Fine Point Tweezers For Bead And Pearl Knotting SKU: XTL-4001 $4.99 |

|
NYMO Nylon Beading Thread Size D for Delica Beads White 64YD (58 Meters) SKU: XCR-23FJ $2.65 |
Related Videos


How to Use Triangle Jump Rings
In this video, see how to use triangle jump rings to hang pendants in a clean, subtle way.
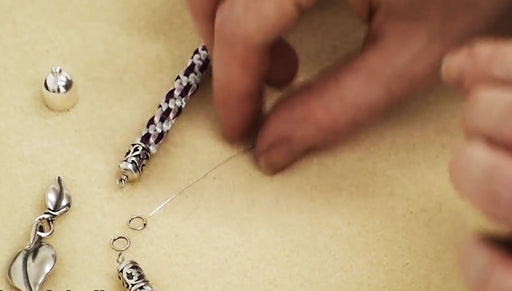
How to Use Cord End Caps
In this video tutorial, see how to easily finish your braided and knotted jewelry used cord end caps. The particular caps featured in this video do...
View full details
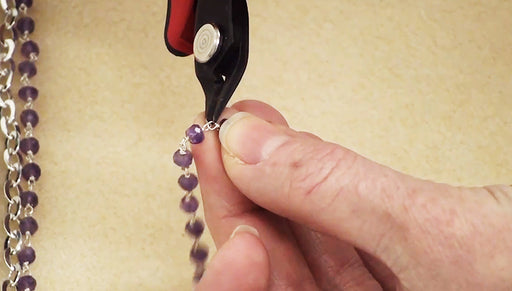
How to Properly Cut Gemstone Chain
Gemstone chain is a great time saver. In this video, see how to properly cut gemstone chain to get the most out of this beautiful product.
Customer Reviews
Based on 1 review
Write a review