
|
Crystal Clay 2-Part Epoxy Clay Kit 'Black' 25 Grams SKU: TRC-230 $12.99 |

|
Preciosa Czech Crystal Rhinestone Cup Chain, 18PP, Crystal/Silver Plated, by the Foot SKU: CHA-10106 $3.99 |

|
Preciosa Czech Crystal Rhinestone Cup Chain, 14PP, Crystal/Silver Plated, by the Foot SKU: CHA-10104 $3.15 |

|
Crystal Clay Sparkle Dust - Mica Powder 'Gold' 1.5g SKU: XTL-1153 $5.79 |

|
The Beadsmith Jeweller's Micro Pliers Chain Nose Flat Nose SKU: XTL-5511 $8.45 |
Related Videos


How to Create Sculpted Resin Pieces by Becky Nunn
In this video you will learn how to create sculpted pieces using silicone putty and Nunn Design Resin. This is a great way to preserve the shape of...
View full details
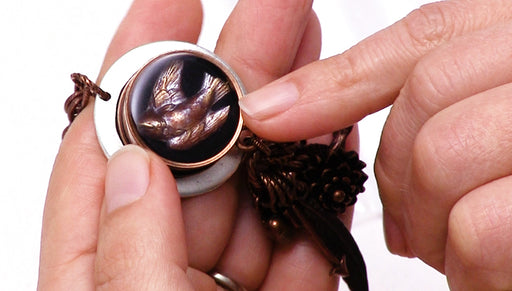
How to Create a Shadow Box Pendant with Nunn Design Resin by Becky Nunn
In this video you will see how to colorize a stamping using mica powder and Nunn Design sealant, how to use a 2 part epoxy clay and how to pour cle...
View full details
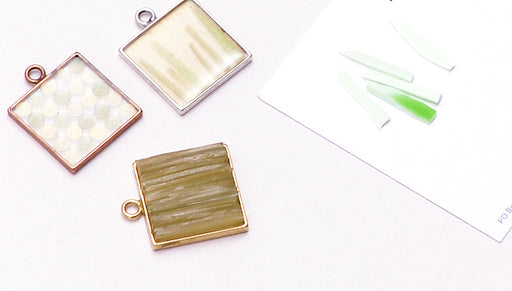
How to Use Excess Colorized Resin Pieces to Create Mosaic Pendants by Becky Nunn
In this video you will learn how to use the last bit of resin from your projects to make a mosaic pattern in a new pendant. This is a great techni...
View full details