
|
E6000 Industrial Strength Glue Adhesive (0.18 fl oz) SKU: XTL-1054 $2.99 |

|
Krylon Acid-Free Leafing Pen - For Metallic Highlights - 18K Gold SKU: XTL-1181 $16.99 |

|
The Beadsmith Wire Looping Pliers - Concave And Round Nose SKU: XTL-5032 $14.99 |
Related Videos


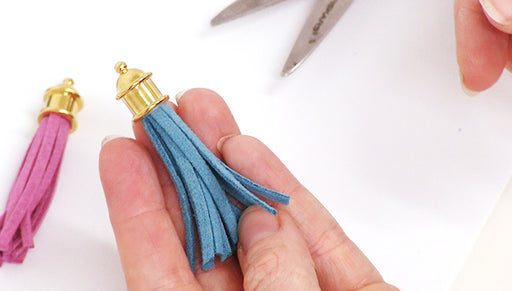
How to Make an Ultra Suede Tassel
In this video learn how to quickly and easily create ultra suede tassels to add to your jewelry designs.
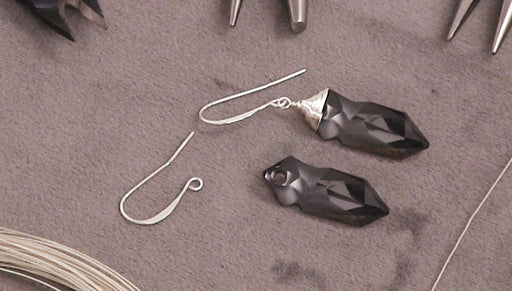
How to Make the Kaputt Wire Wrapped Earrings
Learn how to wire wrap Austrian crystal's kaputt pendants and turn them into a pair of earrings.The brand name for the crystals shown in this video...
View full details