
|
Solid Steel Bench Block - Wire Hardening and Wire Wrapping Tool SKU: XTL-6092 $15.99 |

|
Rubber Bench Block 4 x 4 Inches - Base for Steel Block SKU: XTL-0254 $10.99 |

|
Sharp Flush Cutter Pliers - For Cutting Beading Wire (1 Piece) SKU: XTL-5600 $23.99 |

|
Jeweler's Ball Pein Hammer - 2 1/2 Inch Head - Metal Smithing SKU: XTL-2150 $5.99 |
Related Videos

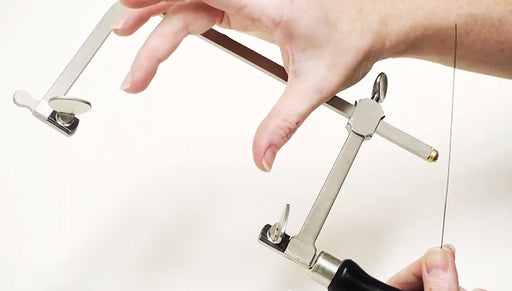
How to Put in a Saw Blade on an Adjustable German Style Sawframe
Learn how to put in a serrated saw blade into a saw frame. Good to know for putting in your first blade or changing out broken ones. Learn how to a...
View full details
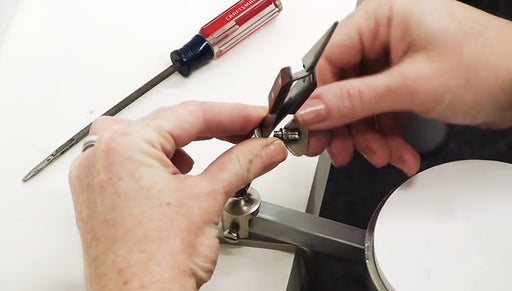
How to Use the Heetrix Soldering Platform
In this video see how to assemble and use the space saving Heetrix Soldering Platform. The Heetrix mounts on top of the bench and the soldering pla...
View full details
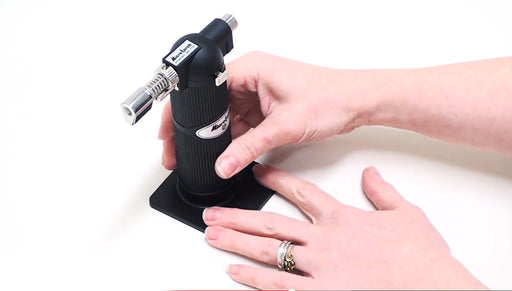
How to Use a Jeweller's Micro Flame Butane Torch
Easy to use, this Jeweller's Micro-Flame Butane Torch is ideal for jewelry soldering, pmc, metal working, removing resin bubbles, jewelry crafting ...
View full details