
|
FireLine Braided Beading Thread, 6lb Test and 0.006 Thick, Smoke Gray (50 Yards) SKU: XCR-1266 $13.99 |

|
Miyuki Delica Seed Beads, 11/0 Size, Opaque Agate Blue DB1137 (2.5" Tube) SKU: DB-1137 $3.80 |

|
Miyuki Delica Seed Beads, 11/0 Size, Black Opaque DB010 (7.2 Grams) SKU: DB-010 $5.49 |

|
Miyuki Delica Seed Beads, 11/0 Size, Steel Metallic DB021 (7.2 Grams) SKU: DB-021 $8.99 |

|
Miyuki Delica Seed Beads, 11/0 Size, Matte Bronze Gold Metallic DB1051 (2.5" Tube) SKU: DB-1051 $9.40 |

|
Miyuki Delica Seed Beads, 11/0, Matte Metallic Bright Yellow 24K Gold DB331 (2.5" Tube) SKU: DB-331 $21.39 |

|
Miyuki Delica Seed Beads, 11/0 Size, Matte Black Opaque DB310 (2.5" Tube) SKU: DB-310 $4.50 |
Related Videos

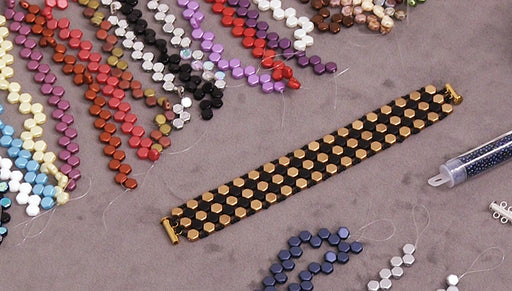
How to Make a Honeycomb Bead Woven Bracelet
In this video you will see how to make the Ms. Bee Bracelet using the Czech glass Honeycomb beads. This is a basic bead woven style that can be ma...
View full details
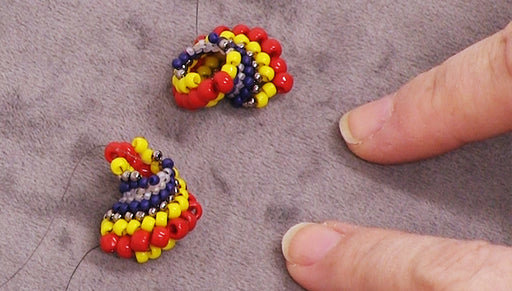
How to Do a Seamless Join in a Cellini Spiral in Beadweaving
In this video you will learn how to seamlessly join your Cellini Spiral bead woven bangle.
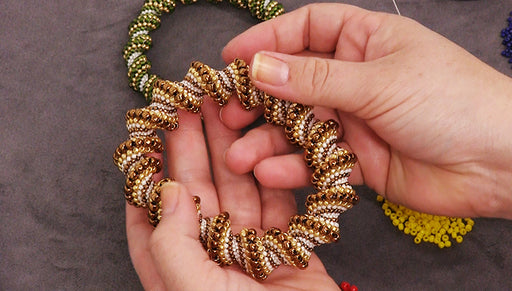
How to Do a Cellini Spiral in Bead Weaving
In this video you will learn how to do a Cellini Spiral. This is a bead weaving stitch that is a tubular peyote stitch with various sizes of beads...
View full details