
|
Miyuki Long Magatama Seed Beads - 4x7mm 'Gun Metal' 8.5 Grams SKU: KMG-024 $3.39 |

|
Kumihimo Thread Bobbin, Flexible Plastic 2 1/2 Inch (8 Pieces) SKU: XTL-6108 $5.45 |

|
Super-Lon, S-Lon, Cord - Size 18 Twisted Nylon - Black / 77 Yard Spool SKU: XCR-4236 $5.99 |

|
Fiskars 5 Precision Tip Scissors - Super Sharp SKU: XTL-5700 $7.45 |

|
Beadalon Large Beading Mats - Prevent Bead Rolling 13 X 18 Inch (Set of 2) SKU: XTL-9935 $6.75 |
Related Videos

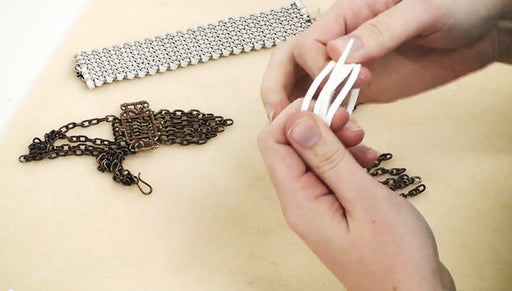
How to Weave Faux Suede Cord Through Chain
In this video, learn how to weave faux suede beading cord through the links in several lengths of chain to create a versatile woven piece that can ...
View full details
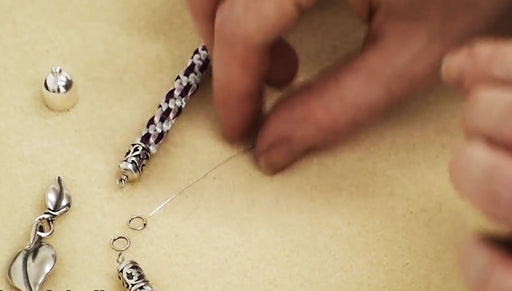
How to Use Cord End Caps
In this video tutorial, see how to easily finish your braided and knotted jewelry used cord end caps. The particular caps featured in this video do...
View full details