
|
Czech Glass Flattened O Beads, 3.8x1mm, Lava Red (8 Gram Tube) SKU: BCO-010 $6.45 |

|
Miyuki Delica Seed Beads, 11/0 Size, Galvanized Silver Frost Pewter DB1159 (2.5" Tube) SKU: DB-1159 $9.59 |

|
Miyuki Delica Seed Beads, 10/0 Size, Matte Metallic Gold DBM0322 (8 Grams) SKU: DBM-0322 $8.99 |

|
Antiqued Brass Open Jump Rings 5mm 18 Gauge (50 pcs) SKU: FJR-5156 $3.69 |

|
FireLine Braided Beading Thread, 4lb Test and 0.005 Thick, Smoke Gray (15 Yards) SKU: XCR-1285 $6.65 |

|
English Beading Needles Assorted Variety Pack SKU: XTL-3004 $4.20 |

|
Fiskars 5 Precision Tip Scissors - Super Sharp SKU: XTL-5700 $7.45 |

|
The Beadsmith Cordless Thread Zap II Thread Burner Tool SKU: XTL-0106 $16.49 |

|
Beadalon Large Beading Mats - Prevent Bead Rolling 13 X 18 Inch (Set of 2) SKU: XTL-9935 $6.75 |
Related Videos


How to Weave a Beaded Edge onto Flat Silver Silk
In this video, see how to add a basic or picot beaded edge to flat silver silk mesh cord. This technique is simple, and adds a beautiful look to yo...
View full details

How to Zip Up Peyote Stitch with a Seamless Join
In this video, you will learn how to 'zip up' peyote stitch bead weaving. This is an easy method of joining to pieces or ends of your work and it g...
View full details
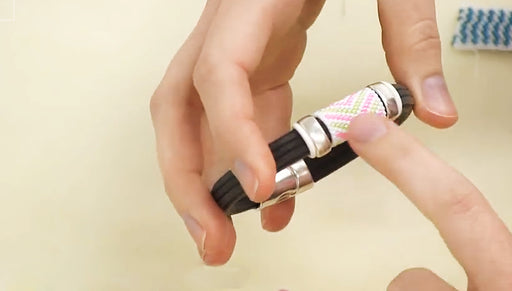
How to Add a Peyote Stitch Bead to Regaliz Leather Alternative Bracelets
In this video, you will learn how to create a peyote stitch beadwoven slider bead to fit a Regaliz corduroy rubber cord bracelet.