
|
NYMO Nylon Beading Thread Size D for Delica Beads White 64YD (58 Meters) SKU: XCR-8901 $2.65 |

|
Lacy's Stiff Stuff Beading Foundation for Cabochons 11 X 8.5 Inches SKU: XCR-4211 $7.95 |

|
The Beadsmith Ultra Suede For Beading Foundation And Cabochon Work 8.5x8.5 Inches - Chamois SKU: XCR-4214 $9.95 |

|
English Beading Needles Assorted Variety Pack SKU: XTL-3004 $4.20 |

|
Fiskars 5 Precision Tip Scissors - Super Sharp SKU: XTL-5700 $7.45 |

|
Beadalon Large Beading Mats - Prevent Bead Rolling 13 X 18 Inch (Set of 2) SKU: XTL-9935 $6.75 |
Related Videos


How to Do Bead Embroidery Around Free-Formed Shapes
In this video, learn the basic technique for a free form method of bead embroidery that can be used to fill in any number of shapes. This technique...
View full details
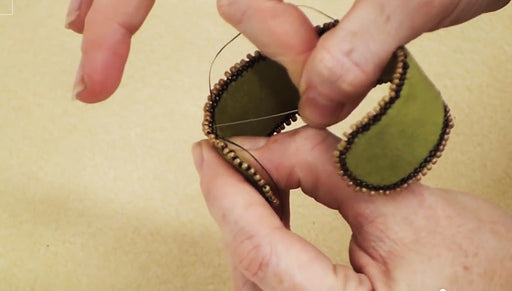
How to Cover a Brass Cuff in Ultra Suede and Add a Decorative Edge
In this video, see how to cover a brass cuff bracelet in soft ultra suede and add a decorative beaded edge. A picot edge and a basic beaded edge ar...
View full details
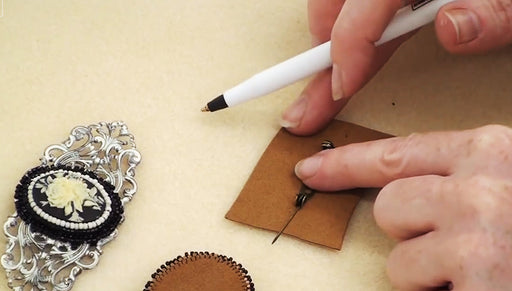
How to Embed a Pin Back into Ultra Suede for Jewelry Designs
In this video, see how to professionally finish your jewelry designs by embedding a pin back into ultra suede. This is great for bead embroidery an...
View full details