
|
True2 Czech Fire Polished Glass, Faceted Round Beads 2mm, Jet (50 Pieces) SKU: BCP-00123 $2.35 |

|
True2 Czech Fire Polished Glass, Faceted Round Beads 2mm, Silver Plated (50 Pieces) SKU: BCP-00139 $3.29 |

|
Wildfire Thermal Bonded Beading Thread .008 Inch - Black- 50 Yd SKU: XCR-8936 $11.99 |

|
True2 Czech Fire Polished Glass, Faceted Round Beads 2mm, Jet California Gold Rush (50 Pieces) SKU: BCP-00135 $3.29 |

|
Tulip Beading Needles Size #10, Short, 37x0.46mm (4 pcs) SKU: XTL-3023 $8.99 |

|
Fiskars 5 Precision Tip Scissors - Super Sharp SKU: XTL-5700 $7.45 |
Related Videos

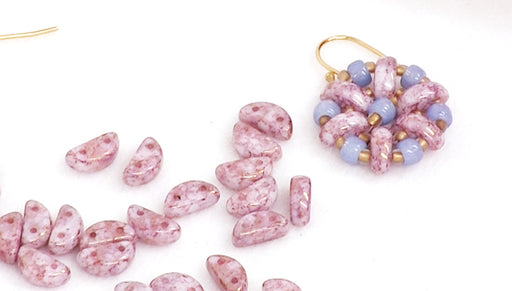
How to Bead Weave a Flower using Czech Glass 2-Hole Half Moon Beads
Learn how to bead weave a flower design using Czech Glass 2-Hole Moon Beads and 2 sizes of Toho seed beads.
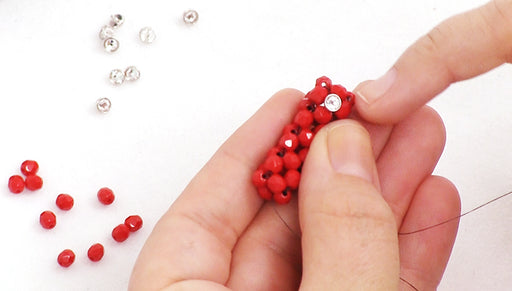
How to Add Crystaletts to Cubic Right Angle Weave
In this video you will learn how to add Crystaletts to your cubic right angle weave rope.

How to Do a Basic Cubic Right Angle Weave
In this video you will learn how to do a basic cubic right angle weave rope using Czech Fire Polish glass beads.