How to Use Bead Frames to Make the Pompidou Earrings

SKU VID-1449
Designer: Julie Bean
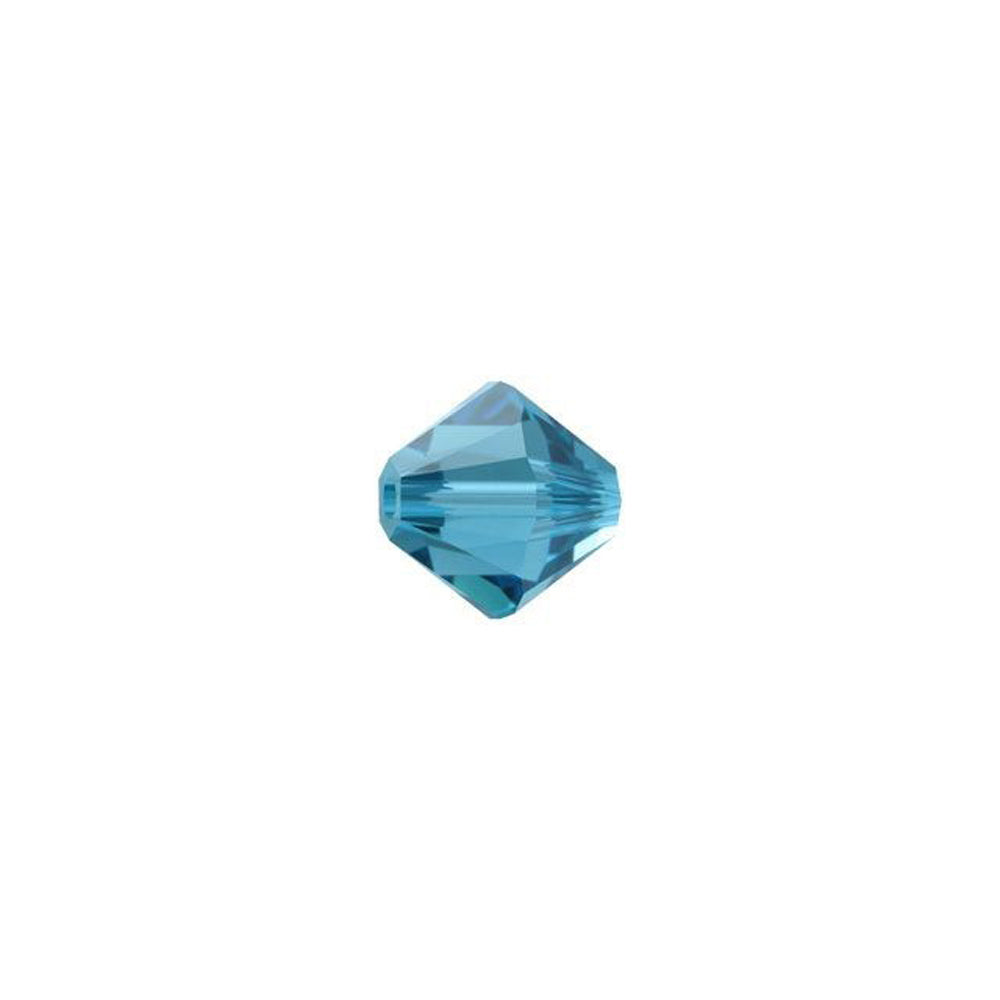
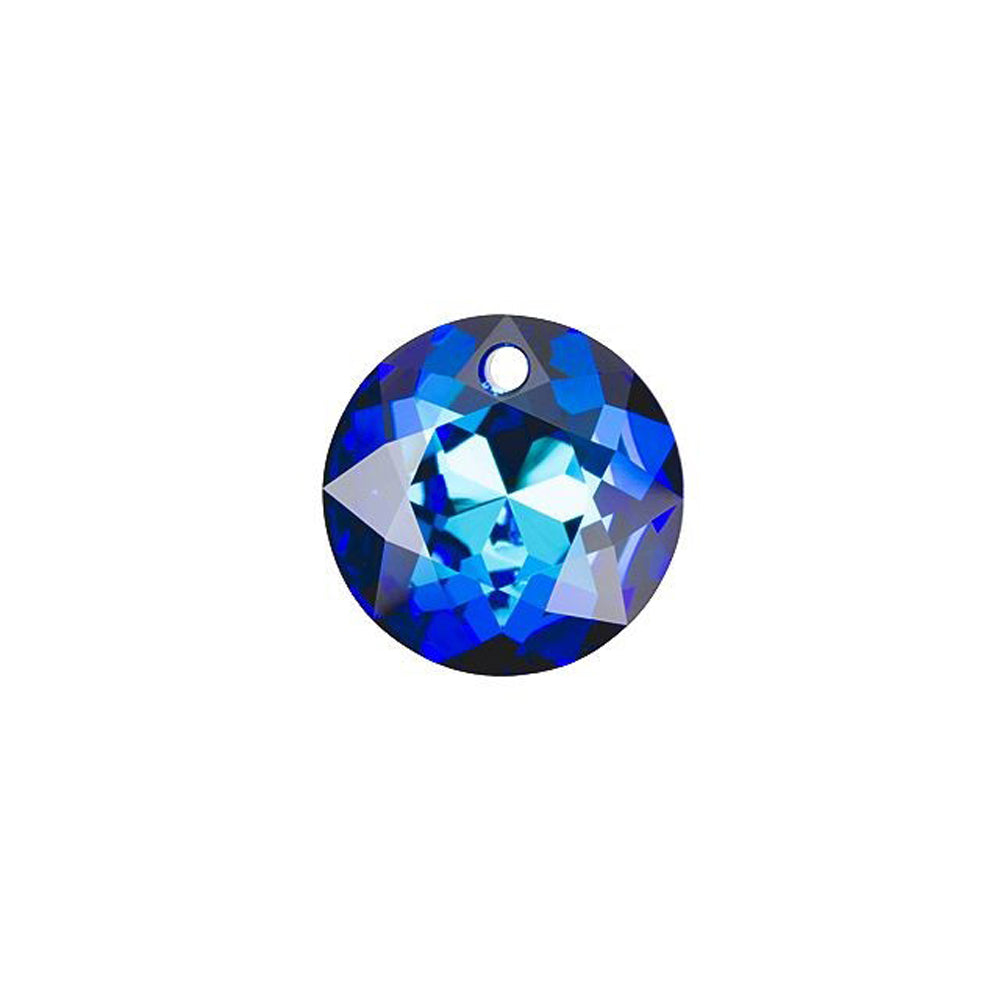
In this quick tutorial video, learn how to easily make the Pompidou earrings featuring Austrian crystal classic cut pendants and bicones. The bicones are suspended inside a striking modern looking rectangular bead frame which is then hung from a Nunn Design earring hook.

The brand name for the crystals shown in this video is no longer available. High quality Austrian crystals are now available under the PRESTIGE™ Crystal Components line.

Audio Transcript
Note: This audio transcript is auto-generated and may not be completely accurate.
Hi, this is Julie with beadaholique.com ah Dern art it's not very hard to make it's really fun what you're going to need is you're going to need one of these rectangular bead frames and I'm going to show you real quick that on each end it has a little hole that you can then put a head pin or an eye pin through so in this case we're gonna be using an eye pin you're going to need five millimeter bicones these are Swarovski crystal in indica light you're going to also need a little focal bead for this one I'm using this classic cut pendant and Bermuda blue again it's a Swarovski crystal and for the earring hook I really wanted another nice modern shape so I have these Nunn design open oval hoops and I did want to show you you could also do this in silver as well very easily for your tools you're going to need a couple pairs of chain nose pliers a wire looping plier or a round nose and a cutter so these are some great basic tools that you probably already have if you don't I would definitely recommend them we carry them at beadaholique.com and they're really this is my basic tool set that I use all the time so how do you make this it is very simple so we're gonna take the eye pin and we're going to stick it through one of the holes now we're going to string on five five millimeter bicone beads pick your favorite color there's a lot of colors to choose from we've got those and now we're just going to slide down that piece of wire keeping the beads on it until it goes through the hole on the other side and this is actually gonna be the top of our earring we're gonna use that loop up top because we need a slightly bigger loop for this pendant so you see it's right here we gotta be able to get through it cuz I didn't want to add an extra jump ring you definitely could but I thought be nice to just do everything with this one eye pin so I'm gonna take my wire looping pliers and I don't want to do it on the very tip because that would create a smaller loop and I don't want it way back here either cuz that's gonna be too big I'm gonna try to make it rest right about here to get just a little bit bigger of a loop so I'm just going to grab the wire where it exits the bead frame squeeze bend it over rotate my pliers to the top you can also do this with round nose if you do have round nose and not wire looping and just have that wire crisscross where it Criss crosses we're gonna make a nice little cut like so now there's an important thing we want to do with this make sure that's straight now because of the orientation of our ear wire so it has a loop on it it's facing this way which will be great because it's going to connect onto that loop right there but then if we want this piece here to face forward we need this loop to be up-and-down and not flat so to do that we're just going to grip the top loop with one pair of pliers grip the bottom loop this could be a little disorienting with that nice frame and we're just going to carefully twist it so we've got one facing one facing one way and one facing the other way and now we're gonna be able to put our pendant on and have it face forward for us so now open up this loop like you would open up a jump ring slide on your pendant via the hole and then just close that loop back up now you could also if you wanted to you could be really careful when you make that loop initially and try to orient it properly to start that is another option if you just twist it that one time it's not going to harm the integrity of your wire so now you can either open the loop at the base of your earhook or you can loop open this loop you want to make sure now that that crystal is facing forward okay so let's see before you close it up so if I did it like this nobody facing backwards let me change how I did it there we go that's gonna be perfect always double-check your orientation when you're making jewelry make sure that what you want facing forward is actually going to face forward when it hangs but there we go we just finished our earring very easy very quick and simple now I use Bermuda blue on the base and indica light up top you can always go ahead and try to match your colors you can use opposite colors ones that have our nice and contrasting you really have fun with this design it's a very simple basic construction method so you can really play around with your colors and have a lot of freedom if you're gonna do it in silver gold you're gonna do Pink's blues greens whatever you mate might want to do so I hope you enjoyed this tutorial you can find the detailed instructions for it as well as the supplies at beadaholique.com you

You recently viewed

Clear recently viewed