
|
Miyuki Delica Seed Beads, 10/0 Size, Opaque Salmon AB Pink DBM0207 (8 Grams) SKU: DBM-0207 $4.99 |

|
Miyuki Delica Seed Beads, 10/0 Size, Matte Metallic Green Iris DBM0324 (8 Grams) SKU: DBM-0324 $8.99 |

|
Beadalon Gold Tone Quick Links 25mm Round (18 Pcs) SKU: BMB-1758 $6.99 |

|
FireLine Braided Beading Thread, 4lb Test and 0.005 Thick, Smoke Gray (15 Yards) SKU: XCR-1285 $6.65 |
Related Videos

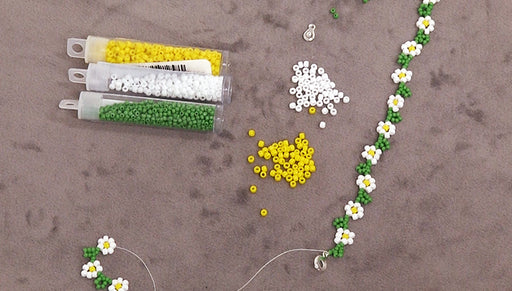
How to Make a Daisy Chain Bracelet
In this video learn how to bead weave a classic daisy chain bracelet. This project is quick and easy.
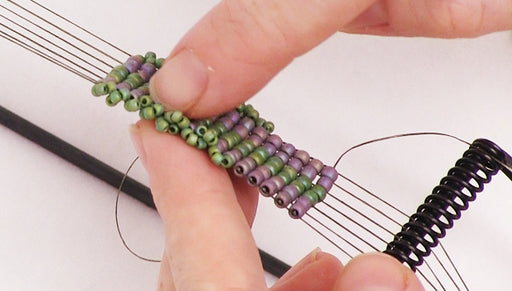
How to Add a Beaded Edge to Loom Work
A fun variation to traditional loom work, this video demonstrates how to add a ruffled beaded edge.
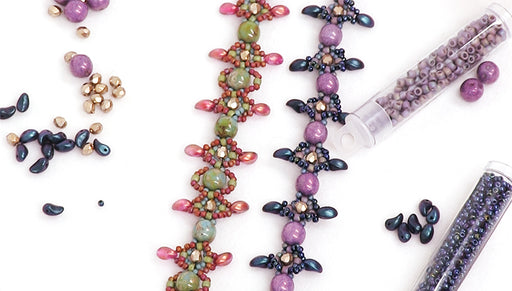
How to Bead Weave a Bracelet using 2-Hole Dobble Beads and Lily Petal Beads
Learn how to bead weave a pretty bracelet using Czech Glass 2-hole Dobble beads and Lily Petal beads. Complete project is shown.