
|
Czech Glass Kite Beads, 2-Hole Diamond Shape 9x5mm, Turquoise Green (24 Grams) SKU: BCK-007 $12.99 |

|
Toho Round Seed Beads 15/0 #PF551 - Permanent Finish Galvanized Rose Gold (8g) SKU: JSO-0354 $5.25 |

|
Earring Findings, Ear Wire 21mm Long 20 Gauge Thick, Rose Gold Filled (2 Pairs) SKU: FEA-1218 $6.99 |

|
FireLine Braided Beading Thread, 6lb Test and 0.006" Thick, Crystal Clear (15 Yard Mini Spool) SKU: XCR-1288 $6.65 |

|
The Beadsmith English Beading Needles Size 12 (4 pcs) SKU: XTL-3006 $3.99 |

|
The Beadsmith Ultra Thread Zap, Battery Operated Thread Trimmer (1 Piece) SKU: XTL-0117 $19.99 |
Related Videos

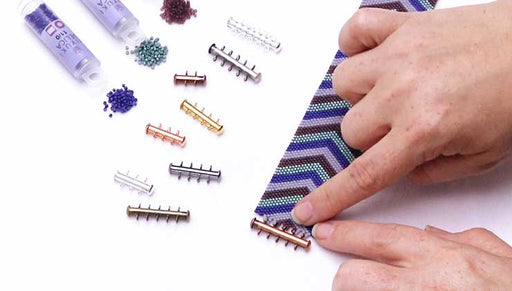
How to Attach a Vertical Loop Multi-Strand Clasp to Peyote Bead Weaving
In this video you will learn how to attach vertical loop multi-strand tube clasps to odd count peyote bead weaving. You will also see an example o...
View full details
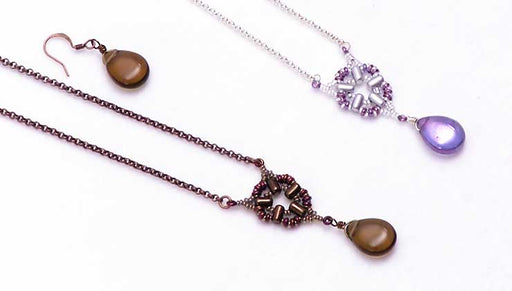
How to Make the Byzantine Window Necklace and Earring Set
In this video, you will learn from start to finish how to create the Byzantine Window necklace and earring set. You will see how to a bead weave th...
View full details
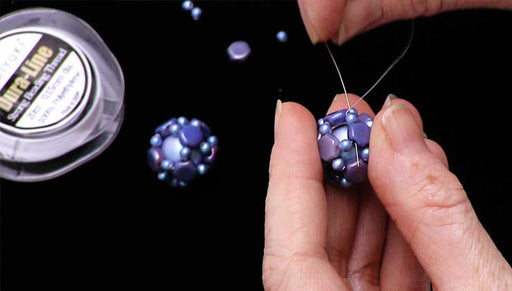
How to Make a Beaded Bead with 2-Hole Honeycomb Beads
In this video you will learn how to bead weave a beaded bead using Czech glass 2-hole Honeycomb beads combined with Austrian crystal faux pearls. T...
View full details