
|
Finished Cable Chain Necklace, Oval Links 4.5x2.5mm, 18 Inches, Antiqued Brass SKU: AXC-98935 $4.59 |

|
Antiqued Brass Open Jump Rings 5mm 20 Gauge (100 pcs) SKU: FJR-5471 $4.29 |

|
Vintaj Natural Brass Diamond Filigree Connector Links 21x15mm (4 pcs) SKU: FCO-4622 $3.99 |

|
Krylon Acid-Free Leafing Pen - For Metallic Highlights - 18K Gold SKU: XTL-1181 $16.99 |

|
Vintaj Mini Glaze - Metal Sealer And Patina Extender - 0.5 Ounce Bottle SKU: XTL-9090 $6.49 |

|
Vintaj Patina Opaque Permanent Ink - Jade Green - 0.5 Ounce Bottle SKU: XTL-9065 $6.99 |
Related Videos

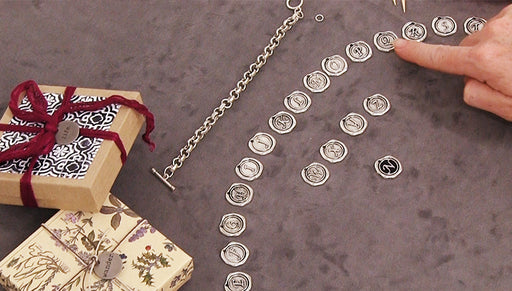
How to Add Patina to a Wax Stamp Style Charm
In this video learn how to easily add patina to the recessed area of a wax stamp style charm. With or without the patina, these are lovely initial ...
View full details
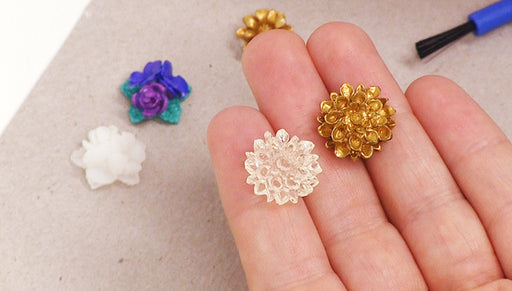
How to Use Vintaj Patina on a Lucite Cabochon
In this video you will see how easy it is to customize lucite cabochons using Vintaj Patina.

How to Create a Translucent Glaze on Charms
In this video learn how to quickly and easily create a translucent milky glaze on metal charms.