
|
Wildfire Thermal Bonded Beading Thread .006 Inch - Frost / White- 50 Yd SKU: XCR-8933 $12.99 |

|
Beadalon Large Beading Mats - Prevent Bead Rolling 13 X 18 Inch (Set of 2) SKU: XTL-9935 $6.75 |

|
The Beadsmith English Beading Needles Size 12 (4 pcs) SKU: XTL-3006 $3.99 |

|
Fiskars 5 Precision Tip Scissors - Super Sharp SKU: XTL-5700 $7.45 |
Related Videos


How to Bead Weave a Ladder Stitch Bail
In this video, learn how to bead weave a ladder stitch bail. The example shown is on a bead embroidered cabochon, this is a great application for t...
View full details
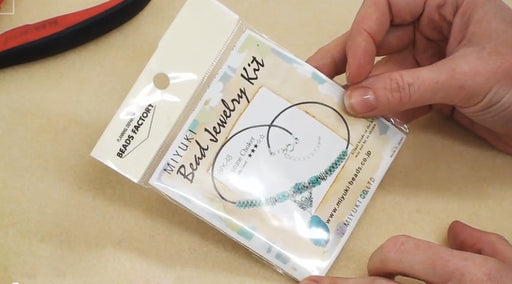
How To Read Miyuki Bead Kit Instructions
Miyuki Bead Kits offer a wonderful array of beading designs to choose from. In this video, learn how to read the instructions and diagrams that go ...
View full details

How to Make a Beaded Bead Using Twin Beads
In this video, learn how to create a beaded bead by weaving together Preciosa Twin beads. The result is a very pretty flower patterned bead that ca...
View full detailsCustomer Reviews
Based on 1 review
Write a review