
|
Crystal Clay Sparkle Dust - Mica Powder 'Gold' 1.5g SKU: XTL-1153 $5.79 |

|
CASTIN CRAFT Casting Epoxy Resin Opaque Green Pigment Dye 1 Oz SKU: TRC-83 $10.99 |
Related Videos

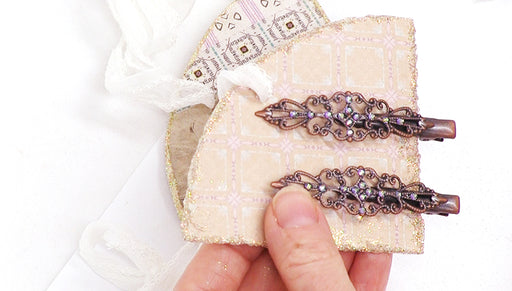
How to Embellish Barrettes and Package them for Gift Giving
Hair barrettes make a great gift and they are easy to embellish and decorate. In this video learn how to add sparkling rhinestones to the barrettes...
View full details
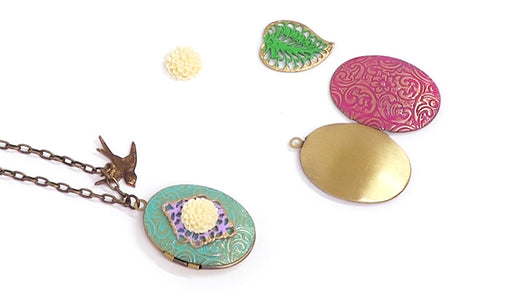
How to Create a Colorful Shabby Chic Locket
In this video learn how to embellish a locket with patina paints, a gold leafing pen, filigree, and a pretty flower cabochon.
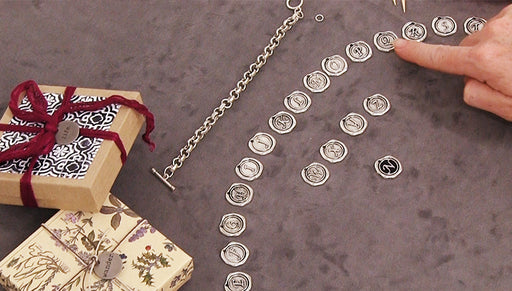
How to Add Patina to a Wax Stamp Style Charm
In this video learn how to easily add patina to the recessed area of a wax stamp style charm. With or without the patina, these are lovely initial ...
View full details